How to Make a Shoe Box Bookshelf

Recycling can be a soul satisfying, monetarily rewarding and fun activity. If you are one of those people who have their books scattered all around the place with no shelf space to arrange the, you can make yourself a bookshelf with a mere shoe box. Yes! a practical and functional bookshelf. It not only saves you money but also gives you the leverage to decorate it yourself giving it the personalized feel. It also saves you the trip to the market. The best part is you can always make one in less than an hour whenever you feel you need space to place your books. All you need is a shoe box, scissors and the decoration items you want to put on it like ribbons, paints, colored paper etc. Our step by step guide has everything noted down for a perfect afternoon craft activity.
Instructions
-
1
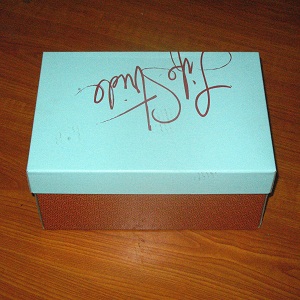
Find a shoe box that is in a strong condition. There are two variations to it. You can either make one with a front opening so that the titles of your books are visible. Another option is to make a box type shelf where only the top is open and you do not have to cut anything.

-
2
Front open:
Cut one of the longer sides of the shoe box i.e one of the lengths. This will give you a front view of the books and their titles besides giving these books support on the back and the sides.

-
3
Box type:
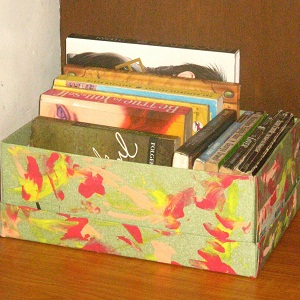
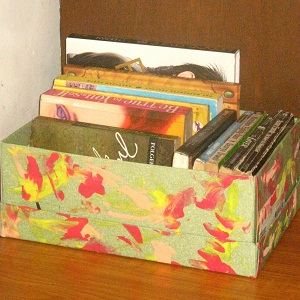
You do not have to cut anything here. Just put the lid under the box for extra support to the base as shown in the picture. This way the books are more secure but you will have to look at them from the top. The box can also be carried from one side of the room to another without taking out the books and re arranging them.

-
4
Decoration:
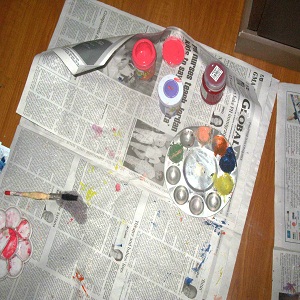
Let the artist inside you out and think of creative ways to decorate the boxes and personalize them. You can paste labels on them to tell the genre of the books in each. Use ribbons, paints and other decorative stationery.


