How to Make a Violin Bow At Home
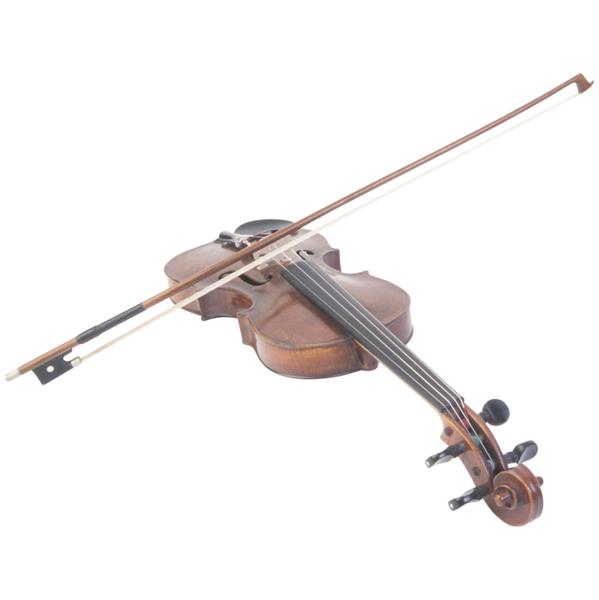
The enchanting sound coming out of a violin greatly depends on the bow you are using to play it. Making your own violin bow at home is an extremely delicate task to perform. It will require a bit of experience on your behalf and a complete understanding of the instrument. You need to put in strong concentration while making the violin bow so that you can make a quality product that creates good sound and last for many years. You will require simple things for making the bow and it won’t take much of your time.


Instructions
-
1
You will need a piece of pernambuco wood to begin the procedure. It is best to use a dense piece of straight-grained wood, which will contain lots of minerals and it adds to the strength of the bow you are about to make.
-
2
Use a block plane so that the wooden stick smooth and round-surfaced. After cutting the wood, it has to be left for maturing for several years. According to expert violin bow manufacturers, the wood used for making the violin bows should be left for 10 years to completely mature.
-
3
You can use an alcohol flame or a brazier of charcoals to bend the wood into the shape of a bow. After doing that, bend the bow a few inches at one time by pressing it into a block of hardwood. This will create the camber or the characteristic curve in the wood to form a bow.
-
4
Use a winding wire to make the finger rest at the bottom of the bow. Glue a piece of later pad next to it afterwards.
-
5
You will need a piece of ebony wood to make the frog of the bow. Make the wood into a trapezoid shape by planning it in such a way that its backside is slightly wider than the front. The front of the wood is made U-shaped and the bottom leg being fixed with a metal ferrule. It will eventually form a D shape and you can also purchase it from the market.
-
6
Make a hole at the bottom of the frog with a chisel and glue a mother of pearl slab to the piece of ebony wood. This will hide the horse hair while looking at the bottom of the frog.
-
7
Chisel a V at the top of the frog and place a silver lining there to protect the wood from cracking. Insert the threaded stem of the eyelet into the lining and the frog and also place a screw through this eyelet to control the horse hair.
-
8
Curve out the head of the bow and glue a piece of metal on the head to decorate and protect it.
-
9
Make a hole in the face of the head and put a wooden block through it. This will secure the horse hair into the head.
-
10
Drill holes into one side of the frog to place the shell dots in the end. Varnish the bow to finish off the job.


