How to Repair a Textured Ceiling
You don’t need to hire a specialist to repair a texture ceiling. It is not a difficult task by any means. A scratched ceiling is a very common issue these days. A lot of people damage the ceiling while shifting the furniture from one place to another.
A small portion of broken ceiling could give a very bad impression. Even if you have beautiful furniture around, a small patch of broken ceiling will become a massive cause of embarrassment for you.
It is always better to repair the ceiling as soon as possible because the scratched part will continue to extend its limits. If you have somehow damaged your ceiling, there is no need to worry. By taking a few very simple steps, you can do this on your own.
Things Required:
– Safety glasses
– Drop cloth
– Putty knife
– Drywall sandpaper
– Drywall sander
– Drywall compound
– Stain sealer
– Spray texture repair kit
– Texturing brushes
– Paint
– Paint brushes


Instructions
-
1
First of all, you need to cover the floor with a dust cover. Also cover any exposed furnishing in the room.
-
2
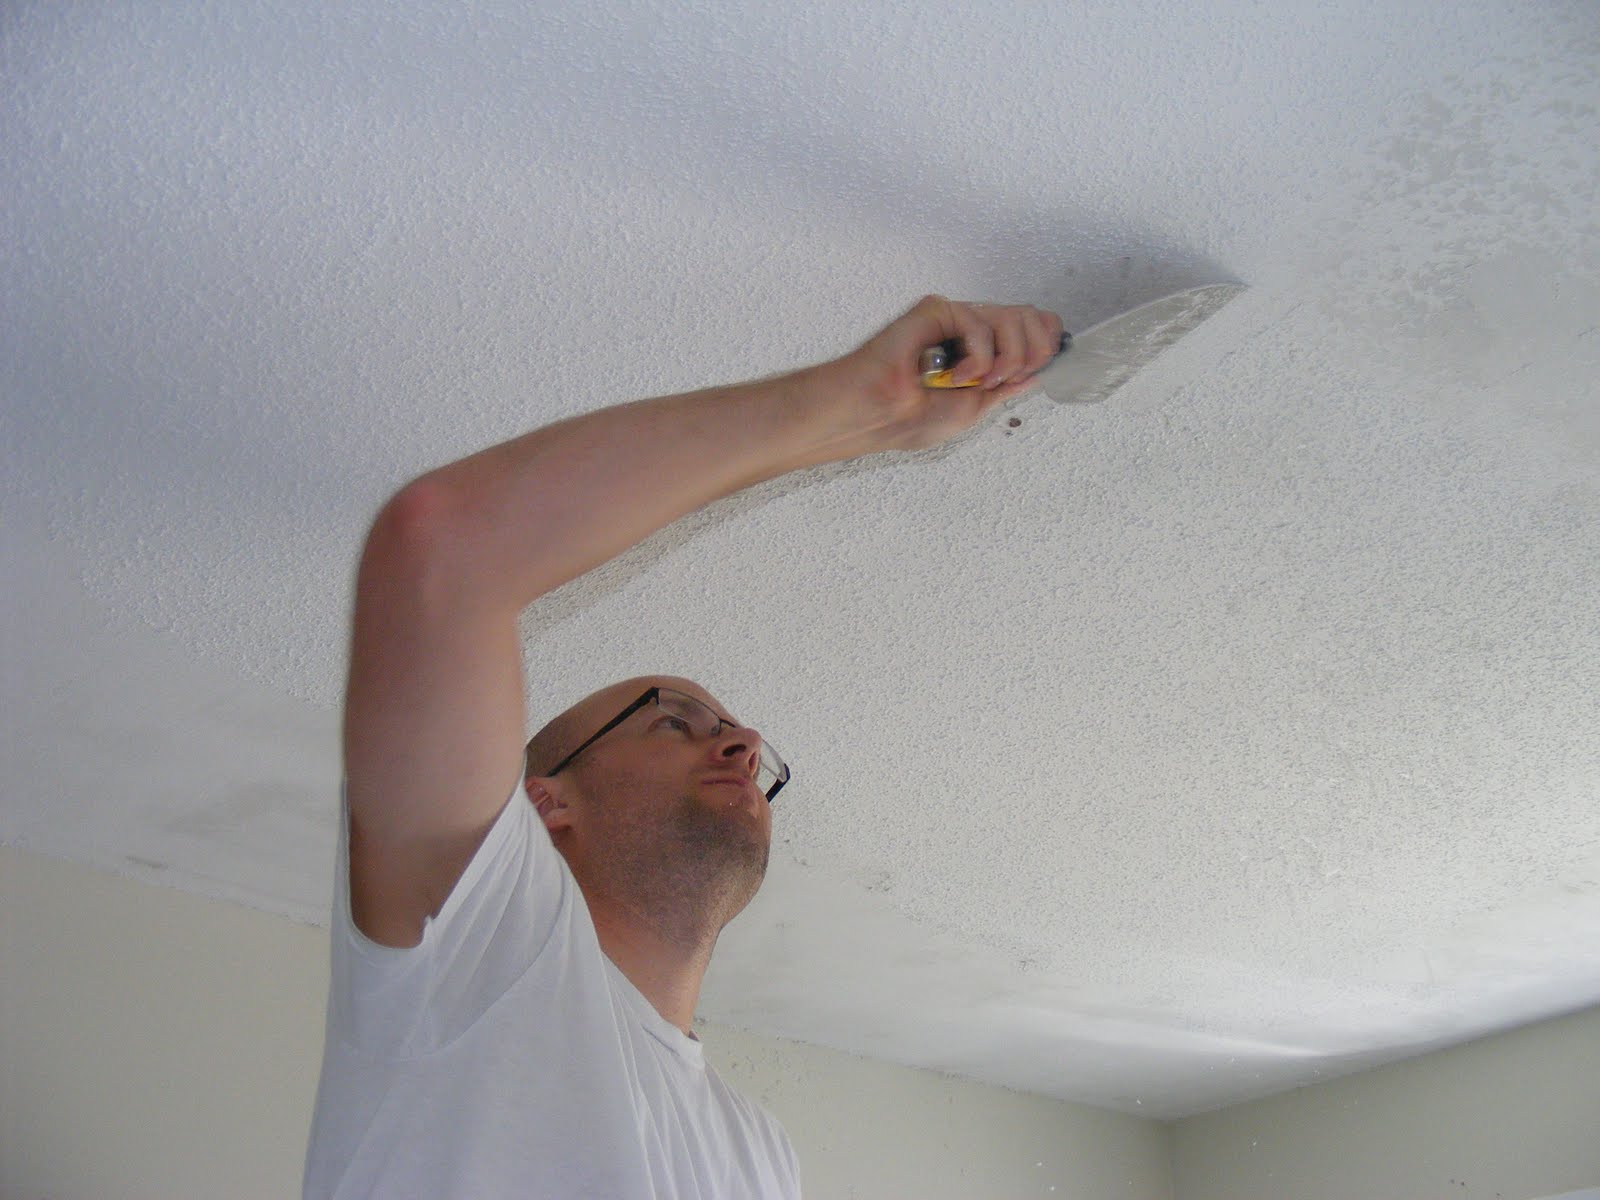
Take a putty knife, and scrap away the damaged part of the ceiling. You cannot place a new layer of texture on the smashed one because it will be of no waster. Sooner or later, the ceiling will crack again.
-
3
Sand the edges around the damaged area. For this, you can use sander with sandpaper.
-
4
Once the damaged portion is completely cleared, apply a small amount of drywall compound on the area with the help of the putty knife. Let the compound dry.
-
5
The sander again comes into play. Use it to get a smooth surface. If the area is damaged due to water stain, don’t forget to apply stain sealer. This will surely prevent the problem in the coming days.
-
6
Now, it is the time to re-texture by using a spray texture repair kit. It depends entirely on you that which kit you want to use.
There are a variety of kits available, such as popcorn effect, orange peel, splatter and knock-down. Make sure it matches your ceiling texture. -
7
Apply drywall compound on the area to recreate a splotchy-style texture look. Once, it is done, use texturing brushes and achieve a match to the surrounding.
-
8
Repaint the entire area, making sure that the new ceiling is similar to the surrounding. Don’t compromise on the looks because it may seem odds after getting dried.


