How to Repair Cane Bottom Chairs
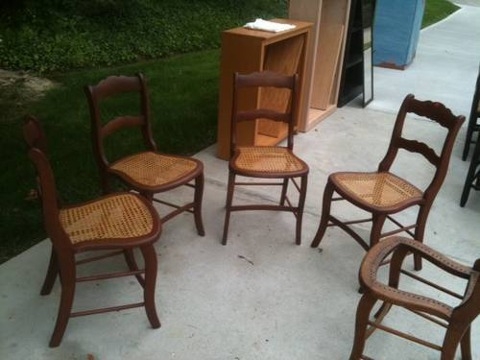
You may have a number of cane bottom chairs at your home; probably from old times. It is natural for the chairs to get damaged over a period of time. Fortunately, repairing cane bottom chairs is something you can accomplish at home by using a few simple tools. Once you are done with the repair work, the chairs will not only look newer than before but their life will also be extended considerably.
Things Required:
– Wood glue
– White vinegar
– Cain material
– Spindle
– Chisel
– Rubber mallet
– Screwdriver
– Utility knife


Instructions
-
1
Start by removing adhesive on the spline; a wooden piece in the shape of a wedge responsible for holding the cane in place. White vinegar works best for this purpose. You will have to apply white vinegar on the spline and allow at least 10 minutes for the vinegar to completely penetrate the adhesive, thus making it easier to remove the adhesive.
-
2
Use a chisel or a flat head screwdriver to pry loose the spline. You would want to be careful in this step; else you may cut into the wood.
-
3
After you are done removing the spline, use a scraper to clean the part of the chair from which you removed the spline. Make sure that you thoroughly remove any dust particles or debris because you need a perfectly clean surface in the steps to come.
-
4
Determine the dimensions of the damaged area and accordingly cut a cane seating which should be at least 3 inches larger on all sides than the area which you want to repair. The piece of cane seating has to be pliable. This can be accomplished by keeping the cut piece of cane seating soaked in warm water for at least 3 hours before using it. Furthermore, you will need a spline at least 5 inches larger on all sides than the spline which you removed earlier. Cut the new spline and keep it soaked in warm water for 15 minutes. This will make it a lot easier to replace the bottom of the chair.
-
5
Set and adjust the cut piece of cane seating on the chair. Use a putty knife and a rubber mallet to set the material into its proper place.
-
6
At a number of points along the channel where you tapped the cane material into place in the earlier step, run a bead of wood glue to provide extra support for the new cane seating.
-
7
Finally, tap into place the new spline. The new spline goes over the beads of glue which you applied in the previous step. Finish off the task by removing excess cane and spline material from the chair.


