How to Replace a Bathroom Sink Drain
Leaking bathroom sink drain is not only wastage of a precious natural resource like water but can create a messy and hazardous. The leaking sink can make the floor of your bathroom and as a result one can slip anytime, especially the kids. Replacing a Bathroom Sink Drain looks a difficult task, but it is one among the easy and cost effective do-it-yourself projects that one can perform with basic plumbing or sanitary skills.
Things Required:
– Bucket
– Pipe wrench
– Rubber mallet
– Plastic putty knife
– Plumber’s putty
– Replacement sink drain kit
– Thread seal tape


Instructions
-
1
First of all set a large plastic bucket under the leaking bathroom sink pipes in order to catch any water left in the pipes.
-
2
Make use of a medium wrench to carefully remove the slip nut that is connecting the sink trap to the sink’s drain and place it aside.
-
3
Now take down the slip nut on the other end of the bathroom’s sink trap where it joins with the drain-line, coming out from the wall. Use wrench for this purpose.
-
4
Revolve the thumb screw counterclockwise (encircling) that attaches the rod assembly from the drain to the stopper lift handle.
-
5
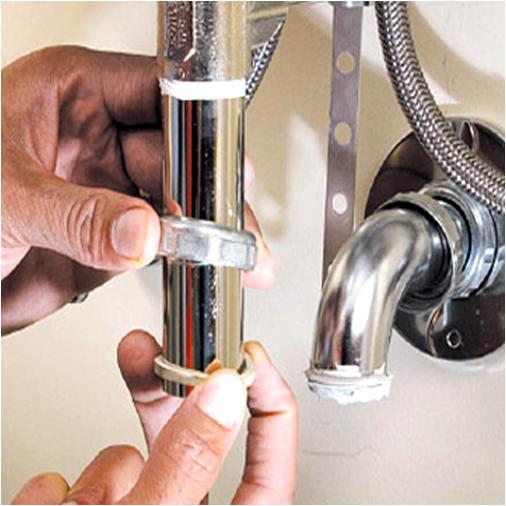
Completely unscrew the locking nut that attach the drain to the washroom’s sink, using a medium pipe wrench. Disjoin the possible washer as well.
-
6
Use a rubber mallet to tap on the sink drain right beneath the sink in order to split the seal that connects the putty and the flange.
-
7
Take off the sink drain pipe from lower side of the sink and then lift out its drain flange higher than the sink. Now use a plastic putty knife to do away with the possible residual putty all around the sink drain hole.
-
8
Place the ball of plumbers putty on your hand and grab it tightly, using both palms. Now roll it with medium force in order to form a rope.
-
9
Now enfold the newly formed rope of plumbers putty right beneath the flange of the new-fangled sink drain extension.
-
10
It is the time to put together the friction-gasket and beveled-washer to the main body of the recently installed drain body. Make sure that the coiled segment of the beveled washer is in the direction of the sink
-
11
Slot in the new-fangled drain body right into the hole of the sink from the underneath direction of the sink, with the friction gasket and washer’s direction pointed upwards.
-
12
Place the drain-flange into the sink from upward direction and then carefully thread it on the drain body.
-
13
Knock over the drain body and then use your hands to make the locking nut tighter. Now use a pipe wrench to tauten the connection completely.
-
14
Rotate the drain body to the rear in order to bring the pop up linkage into line with the stem linkage.
-
15
At this time, enfold the threads of the linkage connection all around the thread seal tape and then put the plunger into the drain aperture.
-
16
Pop in the linkage ball into the drain body through the linkage connection and then connect the retaining cap to the drain body.
-
17
Attach the ball linkage guide to the rod assembly and tauten the thumbscrew, turning it clockwise.
-
18
Twist the sink trap into position with the bathroom sink drain body and re-fix the slip nut.
-
19
Use a wrench to make the slip nuts tighter on two ends of the sink trap.
-
20
You have successfully replaced your bathroom’s sink drain – enjoy leakage free bathroom!


