How to Replace Projection TV Lamps
Projection TV lamp assemblies need replacing after their life comes to an end, indicated by the lamp warning indicator. When the light starts flashing, it is best to immediate replace the lamp instead of keep using the TV for a few more days.
The process of replacing an old projection TV lamp assembly with a new one can look very complicated, but once you start doing it with due care, it can be completed successfully if you are careful about a few things and remain focused. Replacing the projecting TV lamp by yourself can also save you some money.


Instructions
-
1
The first thing that you need to do is to gather all the necessary tools that you will be using to replace the old projection TV lamp with a new one. The tools that you will basically need to have at your side during the process include a manual screwdriver for removing the panel and a cloth handy, preferably made of soft, non-abrasive fabric to handle the lamp assembly without having to touch it with your fingers.
-
2
Once you have gathered the tools, turn off the projection TV and take out its power cord from the outlet and unit, something that is necessary to eliminate the risk of getting an electric shock. Wait for a few minutes to give the projection TV lamp to cool down.
-
3
Locate the lamp compartment door on your TV. It is typically located in the rear, somewhere near the bottom right of left side of the TV. You will find the compartment door being held in place by two to four screws.
-
4
Use the screwdriver to take the screws out and then remove the lamp compartment door.
-
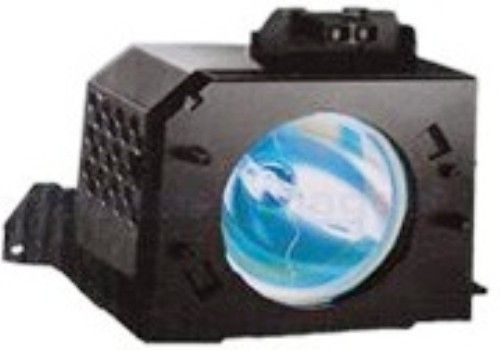
5
Carefully grip the lamp assembly with your fingers and gradually pull it out. If will have a few power cables attached to it. Disconnect them and then pull it out of the TV completely. Put it at a distance from your new lamp so that you do not end up confusing your old lamp for your new one.
-
6
Since you have the compartment door opened, it is best to make the most of the opportunity to clean the dust that may have gathered inside your TV. If you are under the impression that the lamp compartment cannot possibly become dusty since it is always covered by a door, you will be surprised. Use the soft, non-abrasive cloth handy to clean the area.
-
7
Pick up your new lamp assembly and carefully connect it to the power cables that you disconnected from the previous lamp assembly.
-
8
Once you are done connecting the cables, slide the new lamp assembly into the compartment. Make sure you slide it back inside the compartment in the same orientation that the previous lamp came out.
-
9
Put the lamp compartment door back in place and secure it with screws using the screwdriver.
-
10
Consult the instruction manual to reset the lamp timer.
-
11
Plug the power cord of your TV back into the outlet, switch on your TV and start enjoying it again.


