How to Set Up a Home Theater in a Box
A home theater in a box, also known as an HTIB, has several components, and needs to be set up with absolute care, in order to make sure all the components are properly positioned and connected. In addition, you will need to select a room that is large enough to house the home theater, and to hold the viewers who will be enjoying the movies on the big screen.
Things Required:
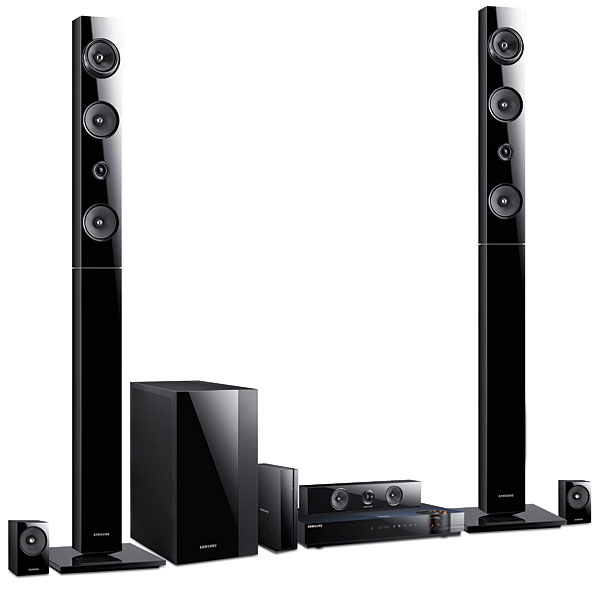
– Home Theater in a Box (HTIB)
– Screwdriver
– Projector
– Television
– Speaker wire


Instructions
-
1
To begin, start unpacking the boxes which contain the home theater system – use a small, short knife to slit through the tape that holds the boxes together, and make sure you unpack everything with the utmost care, so as to prevent any damage. HTIBs generally come in two boxes – one houses the speakers and components, and the other contains the subwoofer.
-
2
Once everything is unpacked, proceed to read the manual, and study all the parts carefully, to determine that you have everything that is required to get the HTIB up and running. Make sure you have the proper electrical outlets, and mentally arrange all the components at strategic places around the designated room, to create a mental map of how you will be setting up the system.
-
3
Next, proceed to physically organise your components. Put them near each other, at all the spots where you plan to keep them. Make sure you do not stack them on top of each other, as this could end up damaging them, or causing them to overheat. Make sure you give the amplifiers and receivers ample room to allow for air circulation, as these can get fairly hot when in use. The speakers will need to be set up at opposite ends around your viewing area.
-
4
Now, connect the components, using the manual as a guide to determine which cable needs to be connected where. These will generally be colour-coded to simplify the process, so just follow the instructions in the manual, to determine the inputs and outputs.
-
5
Then connect the speakers – begin with the center channel speaker, and then proceed to connect the others, one speaker at a time. Figuring out which cable goes where may take a while, and this will need to be done with utmost care – there tend to be a variety of outputs at the back of each amp, all of which are designated for a specific channel.
-
6
Finally, plug the home theater in – plugging it into a power strip would be best, as this would avoid the additional mess and jumbled wires of extension cords and adapters. Test the home theater out with a new DVD, make any adjustments you might require, and you are good to go.

- Screwdriver
- Projector
- Television
- Speaker wireNext%20stop%3A%20Pinterest "Pin It")


