How to Use Apple iMovie
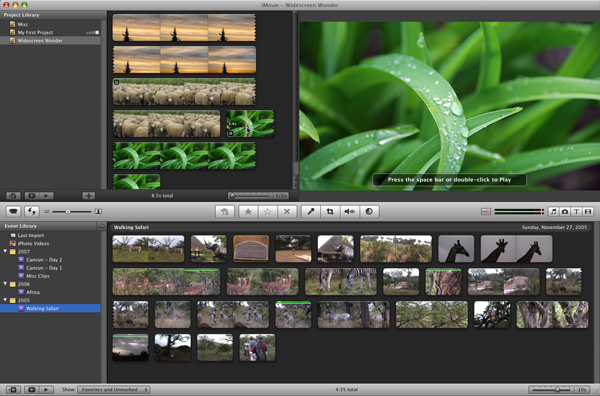
If you have recently purchased a brand new Macintosh computer with OS-X Leopard running on it, then you might also have received iLife suit of products with it. iMovie is one of the products that come along with iLife suit. It is a great video editing software program, which allows you to edit your homemade videos, add music to them, and even combine different video clips to create a single file.
You can also edit and export your videos in different video formats, so that you can play them on different devices. This article will talk about the basics of iMovie, which will help you in creating short clips.


Instructions
-
1
First of all, you need to import video clips to iMovie. You can import them directly from your camera or any other portable media, or from your computer. From the “File” menu, select the import feature and using the browser, locate your file. If you want to import multiple files, then you can press and hold “Shift” key, and click on the clips you want to import.
-
2
If you have files that are not getting recognised by iMovie, then you will need to convert them according to the list of video file formats listed in iMovie. For instance, if you have video in MPEG format, then you will have to convert it to MP4, in order to get it recognised by iMovie. Use any converter to process the video, before importing it to iMovie.
-
3
The importing process may take some time, depending on the size of the clips you added in the import list. Once it is completed, you can go to “File” menu and select “New Project”, to create a new project.
-
4
You can now drag and drop all the clips that you want to use to create you video, on the video timeline. You can reorder them, according to the sequence to you want.
-
5
From the “Window” menu, select “Transitions”, to add transitions between different clips. Simply select a transition and drag it between any two clips.
-
6
If you want to crop any scene, you can just select the “Crop” option, and crop according to your needs. Once completed, you can check the preview if it fits your video.
-
7
You can also add titles to the video, by selecting “Titles” from “Window” menu and dragging it to the position where you want them to appear. You can edit the titles at any time, before exporting the video.
-
8
You can now export the video from the “File” menu, and save it to any device directly from the program. The iMovie will export the file in high quality MP4 format by default.