How to Use the Clone Tool in GIMP Freeware
Although there a number of other image editing software such as Adobe Photoshop, but the problem with these software is that the user has to pay a license fee. GIMP on the other hand, is free to use, which is why it is very popular amongst casual digital photographers. GIMP has almost all the image editing tools that one may need to professionally edit a digital image at no cost; clone tool being one of the available tools. Here is how you can use the clone tool in GIMP freeware.


Instructions
-
1
Launch a new session of GIMP, click ‘Open’ and browse to your hard drive’s location where the image on which you want to use the clone tool is saved. Click the image file twice to open it in the editing mode.
-
2
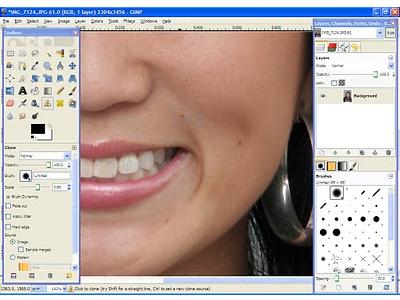
Select the clone tool which is in the tools palette section. Visually, the clone tool resembles a rubber stamp, just like in Adobe Photoshop. Below the word ‘Clone’, notice properties of the clone tool.
-
3
Now you need to select a certain area of the original image from which GIMP will then clone. Accomplish this by taking your mouse cursor to the desired area, press and hold the ‘Ctrl’ key and then click the left button of your mouse while moving the cursor over the area that you wish to clone.
-
4
There are various modes in which the clone tool can work. Change the mode settings to ‘Normal’. Setting the clone to normal mode will enable you to use the clone selection that you made in the earlier step in order to paint the new area. Another possible option that you have is to replace colour behind the selected image area. Moreover, you can change the size of the clone brush according to your need with the help of the ‘Scale Slider’.
-
5
Start painting the selected area over the area being painted in slow circular motions with the clone brush. This step may take a few minutes so do not make haste.


