How to WordPress Theme Header Template

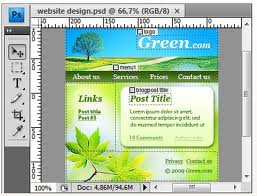
The theme header of WordPress gives a unique and attractive image to the blog as it’s the first thing a viewer sees when he visits your blog or web page. When building a WordPress page or blog, the first step is to choose a theme that best suits your topic. After choosing a suitable theme the next thing that you might want to change is the header. If you chose a theme that has an image header change option in its appearance section, it will be easier for you. Otherwise you have to change it using FTP file transfer.
If you have a premium or paid theme for WordPress, you will have an option to change the header file via appearance tab directly. This article will tell you if you want to use the alternative method of FTP and edit it via file manager.
Instructions
-
1
If you are using the FTP method, you must have the FTP accessing rights

-
2
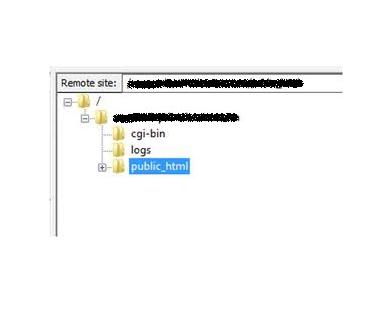
Go to the following folder in your file manager root folder after logging in as FTP user.
/(path_of_your_site)/wp-content/theme/(name_of_theme)
-
3
There will be a div tag there and after that there will be a “header” or “header_img” and after that there will be a code like this:
img src="/images/header2.jpg" width="880" height="200" alt=" header image 2" title=" (Your header title)" / -
4
Now as the image file is adjusted at a resolution of 880*200, keep in mind that the image you create will have to be of the same resolution.
-
5
Create the image or save the previous one at precisely the same resolution and format and save it.
-
6
Watch for the location of the saved image file, as the above link depicts that the image head file is in the following path“/images/header2.jpg”
-
7
Upload it on the location with the same name eg. “header2.jpg” and replace the previous image file with the new one that you just created

-
8
Your new header theme is good to go.


