How to Create Commemorative Photo Sports Tickets Using Mpix
Special sports events can be captured by creating commemorative photo sports tickets, and if you do not know how to make them, then nothing can be better than to order them online from Mpix.com.
Mpix is basically a part of Miller’s Professional Imaging, the largest professional photography lab in the United States. You just have to upload your pictures on your account at Mpix, and choose the template that you want for your commemorative photo sports tickets. Complete the ticket with the help of tools available on the website and order the prints at cheap rates.


Instructions
-
1
Open your web browser and navigate to Mpix.com. Click “Sign In” and provide your email address and password to login to your account. If you do not have account at Mpix, then you can click “Sign Up” and provide all the necessary information to register a new account.
-
2
After you are logged in to your account, click “Create New Album” and provide a name for the new album. Click “OK”.
-
3
Click “Add Photos” and then again click “Add Photos” in the new window that appears. You will now be required to add all the photos that you want to add to your newly created album. Press and hold “Ctrl” key while selecting multiple pictures, and then click “Open”. Click the “Upload” button to upload all the selected pictures.
-
4
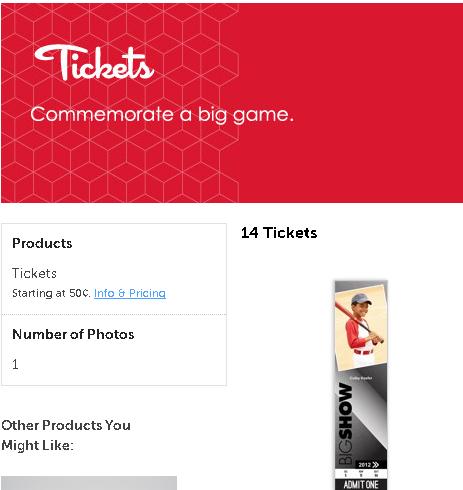
Now click the “Products” tab, and then “All Products” text link to open the list of all offered products. Scroll down until you find “Tickets” section. Click on it to open the “Tickets” page.
-
5
You will now find different ticket styles available with different colour schemes. Click the “Choose Style” button at the bottom of your desired style and then click the “Add Your Photos” button.
-
6
You will now be required to select the album where you have saved the pictures that you want to use for the tickets. Clicking an album will open all the pictures present in it. You can drag and drop your desired image in the photo section of the ticket in the main window.
-
7
Select the background of the ticket from the “Background” dropdown menu and enter any text that you want to appear on the ticket.
-
8
Enter the quantity you want to order in “Quantity” field and click the “Add to Cart” button. You can now create another ticket and then add to cart.
-
9
After you are done with creating and adding your required number of tickets to the cart, click the “Cart” button present at the top of the page. Review your order and click “Checkout”. Provide your billing information and your delivery address.


