How to Install Cedar Shingles on Roof
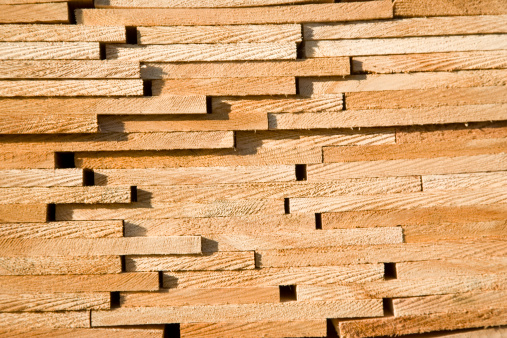
Cedar shingles offer a very elegant look to any house or roofing project. It is genuinely pleasing and can be used in all weather conditions. Also it is resistant to insect harm. You can get cedar shingles just like the normal ones. Nevertheless, you should be careful when aligning the shingles properly and keep good spacing at the same. When going for a cedar shingling project on roof, try to get all the right permits and licenses. After that, start working on this in good climate conditions. Make sure you know that there are a number of ways to install cedar shingles on roof with good effect.
Things Required:
– Shingles
– Nail
– Roof
– Building paper
– Knife


Instructions
-
1
Stop water leakage
In order to avoid water leakage, seal all the roof joints or seams and also near the windows or chimneys in the roof. Perform this on the whole area of roof deck with the help of building paper. It is important to consult the local building authorities to see if you are using paper that is legal to install in building codes. Moreover, get a drip edge and valley flashing near the corners and edges of the roof. Safeguard your roof with rust proof roofing nails. -
2
Getting started
Begin by placing a beginner course of cedar shingles, laying them 1/8 inch away to give space for expansion. You can tie a string between both ends of the eaves to maintain the level and keep the shingles aligned properly. Begin at the bottom of the room and go towards the top side. You should lay one row of shingles and then move on to the next row for better results. When you get to a roof edge, remove excess shingle at the roof joint with a pocket knife. Attach the shingles to the roof with rust resistant roofing nails. For a number of roofing projects, the nails need to go inside the roof about an inch or more. However, see local building codes for the exact nail depth allowed for your roof. -
3
Further instructions
If you live in an area where there is a lot of snow, install another layer of beginner course shingles, overlapping them around 1 ½ inches. Also keep in mind that the seams do not line up. Place down the last course of shingles on top of the beginner course. Keep a gap this time as well. Safeguard these with roofing nails beginning at the bottom and going towards the top.


