How to Add a Sink Dispenser
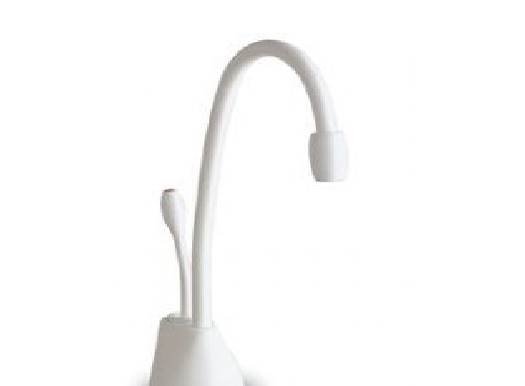
Do you want cold and warm water almost instantly? If yes then you must be looking for a sink dispenser! A sink dispenser makes life easier as you get the warm or cold water almost instantly. So it won’t be wrong to say that a sink dispenser is indispensable!
Most people rush to hire professionals to add a sink dispenser but this can be done on your own. Save your money and do it on your own! But before you begin make sure that the sink has the faucet hole in it otherwise you will have to drill out one.
Things Required:
– Sink Faucet
– Sink Dispenser Fitting
– Measuring Tape
– Pencil


Instructions
-
1
Adding the Dispenser's Reservoir
Find the right place where the reservoir will going to be installed by keeping in mind the extent to which the water supply tubes will reach. As you find it, mark the points with the help of a pencil. Now after marking the right place, make holes with a drill and nail in the mounting bracket on the wall. Once you have fixed the mounting bracket successfully, fix the dispenser reservoir on it.

-
2
Attaching the Dispenser’s water Cables with the Reservoir:
Attach the dispenser water cables with the reservoir with the help of the couplings and attach the copper and plastic cables together. Don’t forget to tighten them up.

-
3
Connecting the Dispenser to the Water Supply Cable
Now join the saddle valve with the water supply cable and tighten it up by moving the valve in the clockwise direction. Also join the water supply cable that is coming from the dispenser with this water cable and tighten it up with a wrench.

-
4
Regulating the Thermostat
Finally plug in the cable into the wall socket and then regulate the thermostat according to the guide that comes with the dispenser fitting. Wait for the water as it boils.
The sink dispenser has now been completely installed.

-
7


