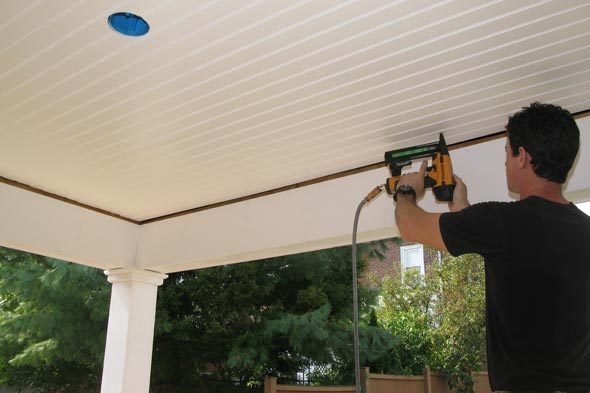
How to Install Beadboard Paneling

Paneling is a wall which is constructed from rigid or semi-rigid components. Most of the panels available in the market are made of wood but they can also be made of plastic or composite materials. Paneling has a lot of advantages as it allows you to place walls and then change their positions at will.
Most of the office cabins constructed these days are also made up of wooden panels. Beadboard paneling is that part of the panel which is installed in tight vertical lines or at the bottom parts of the wall to give proper elevation and shape to the room. Installing beadboard is a very simple task; its sheets are readily available in the market and require little skill to fix them to your walls.
Instructions
-
1
The beadboard comes in a lot of variety and shapes. You will need to varnish it first, then choose a suitable paint colour for your beadboard before finally painting it using a paint brush.
-
2
Mark the edges of the room where you want the beadboard panel to end. The normal standard parameter which is used widely is 48 inches, but you can choose any length of the board you want. Now use a pencil to mark a straight line at the center of each panel.
-
3
Install the first piece of beadboard on top of the sawhorses. Double check the length of the bead board and mark the bottom end minus one inch the original height. For example if you have decided the length of the board to be 48 inches, apply the mark on 47 inches. Arrange a T-square to extend that point to both ends of the beadboard corner. Use a circular saw to cut the panel at the marked line.
Image Courtesy: huffingtonpost.com
-
4
There may be a few plugs and sockets which you would want to install on the panel. There is nothing to worry about; electrical sockets can easily be accommodated in the beadboard panel.
Use a screw driver to remove the screws from the front face of the socket and take off its jacket. Measure the size of the socket with the help of a ruler and then transfer those dimensions to the board. Use the set square to mark out the edges of the socket and cut it with a jigsaw.
Open the carpenter's glue bottle and spread it on the back of the beadboard panel. Use a hammer to attach the panel in front of the wall. You can also use trim nails for affixing the panel in case the need arises.


