How to Add Wood Brackets
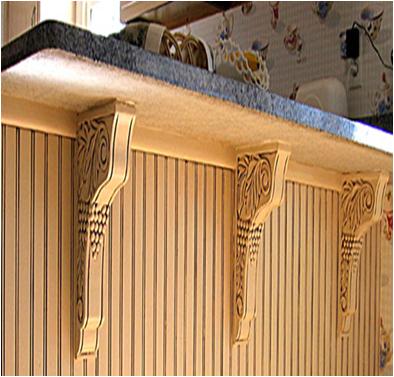
Wood brackets are one among the latest trends in the world of interior designing. These unique architectural pieces of work can be used attached to the doors, windows and shelves etc. Moreover, you can use them to put together the curtains, covering windows and doors. Wooden brackets are easily available in the market with various finishes, construction, and interior styles. All you have to do is, purchase them according to your requirement and attach them yourself. Adding wooden brackets is a simple activity and a matter of few minutes. Once you add the brackets, use them over and over again by re-painting them in various colors.
Things you will need to add wood brackets:
– Wooden Brackets
– Sandpaper
– Lean pencil
– Hand drill machine
– Construction adhesive tube
– Caulk gun
– Wood nails or screws
– Drying filler


Instructions
-
1
Prepare the wood surface of the bracket
First of all, use a sandpaper to lightly smooth the surface of the wooden bracket. To even the complicated curved areas of the bracket, make sanding strips by cutting the sandpaper widthwise and putting them together with a masking tape.
-
2
Drill mounting holes in the bracket
Grab a wooden bracket and hold it in place centered on the surface where it will be set up. Now use a lead pencil to mark the location at the base of the bracket where you can drill mounting holes to install the nails. Drill holes on the bracket’s marks, using a hand drill machine and keeping the width of the bracket in mind.
-
3
Install the bracket
Take a fine quality construction adhesive tube and cut off its tip at an angle, using a sharp knife cutter. Now load it into a caulk gun and apply a small blob of construction adhesive to the back of the bracket. Carefully place the wooden bracket in the selected position and gently push it firm against the surface. Wait for few minutes until the adhesive dries out completely.
Drill wood nails or screws through the previously mounted holes in order to firmly fix the bracket in place. Use some drying filler to fill up holes of the nails and sand it smooth with sandpaper.
-
4
Install the remaining wooden brackets
Repeat step 1, 2 and 3 to add the remaining wooden brackets.


