How to Apply Pressed Powder Foundation Makeup
Pressed powder foundations are slowly overtaking their liquid counterparts in the world of cosmetics, and many beauticians swear by them, claiming they are far easier to apply, and do not need to be smoothed and blended into the skin like liquid or cream foundations do. Pressed powder foundations are great for hiding blemishes, and dramatically improve the appearance of skin, making it appear smooth, even, and flawless.
Things Required:
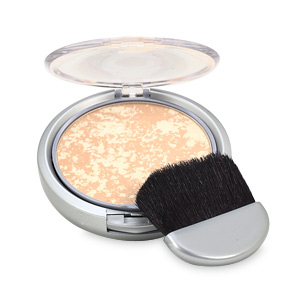
– Pressed powder foundation
– A large makeup brush
– A mirror


Instructions
-
1
Begin by choosing the right shade of pressed powder foundation for your skin tone. It is essential to choose a shade that is as close to your natural skin tone as possible – this will make for a natural, translucent look, and keep your skin from looking too orange or yellow (which is bound to make people suspect a fake tan).
-
2
Now, make sure you are standing in front of a well-lit mirror as you apply your pressed powder foundation. Choose the right type of makeup brush – this should be a full and round brush that will make for an even application of foundation all over your face and neck, and help you highlight your facial contours. Use of a large puff for foundation application is highly recommended by makeup artists.
-
3
Start by unscrewing your pressed powder foundation – tap some powder out into the lid, and place this on a nearby surface. Swirl your brush through the powder, going through it a couple of times in order to ensure that all the brush bristles are evenly coated with the powder foundation.
-
4
Next, tap the brush at the edge of the lid, to get rid of any excess powder on the brush. This will make sure there is just the right amount of foundation left on the brush. Hold it up to your face, and begin buffing the foundation onto your face.
-
5
Start applying it at the forehead, and move steadily downward, going over your temples, your cheeks, and then down to your chin. Brush the powder evenly over your eyelids, nose, and then over your neck. Stop and admire the effect – if it looks alright, your look is complete. However, if you feel you need another coat, go ahead and repeat the process until you achieve the result you want.


