How to Build Custom Wall Paneling
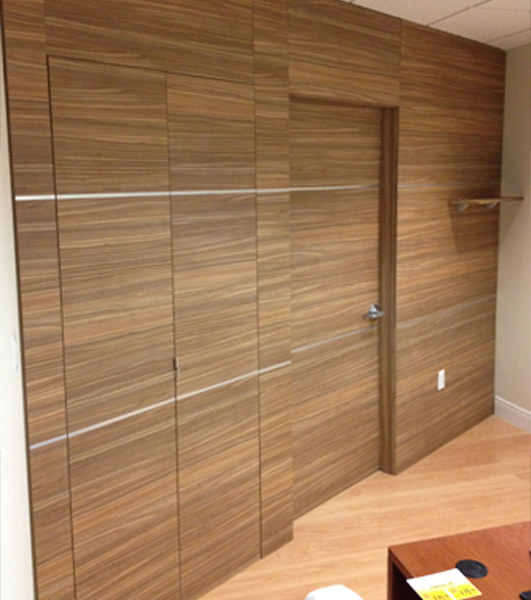
Wall panels are a great way to brighten up your walls and your homes. This is because they give your house a very appealing look and make it look rather unique.
However, as is the case these days, it is very hard to find the wall panels that you feel would be ideal, or perfect for your homes. This is because the wall panels are designed for the general public and not for specific houses. In these cases, it is sometimes a smarter idea to go on and build your own wall panels.
This would give your panels and house a standout feature, and would also help you do something productive.


Instructions
-
1
Measure
The first thing to do is to take some pieces of plywood and to then go on and make markings on them to the size of each panel that you would want to use.
You can then take some chalk and draw out the lines of the panels, making sure that each panel is the same size. However, if you need some special sized panels for specific areas, you should make measurements for those as well. -
2
Cut molding
You now need to go on and cut out some decorative molding that you would be applying to your panels. Make sure you get the dimensions right while cutting it out, or you could end up having some problems later on. -
3
Attach molding
Next up, you need to go on and attach the moldings individually to each piece of paneling. Make sure you secure the molding on the panels via nails and then fill out the holes with fillers, paint or putty. -
4
Repeat
Repeat the last two steps till you have enough panels with moldings attached to them. -
5
Paint or decorate
The next thing to do is to go on and paint the wall panels. You may do as you please with them in order to make them stand out or suit your need. -
6
Attach to walls
Next you need to find and locate all the studs in the wall. After you have done this, go on and attach the panel to the walls, making sure that you keep in mind the location of the wall studs.
After doing so, attach the panels to the wall via nails. -
7
Finish
Finish up by scraping off any rough edges and filling in any areas that you feel need more smoothening.


