How to Carve a Wooden Spoon
To a cook, a hand carved wooden spoon can be beautiful, functional and feel like an old friend. In addition to that, a cook always likes to work with the tools he or she feels comfortable with and if they own something that beautiful, then they will certainly prefer using it while cooking. Read on to understand what you need to carve a wooden spoon.
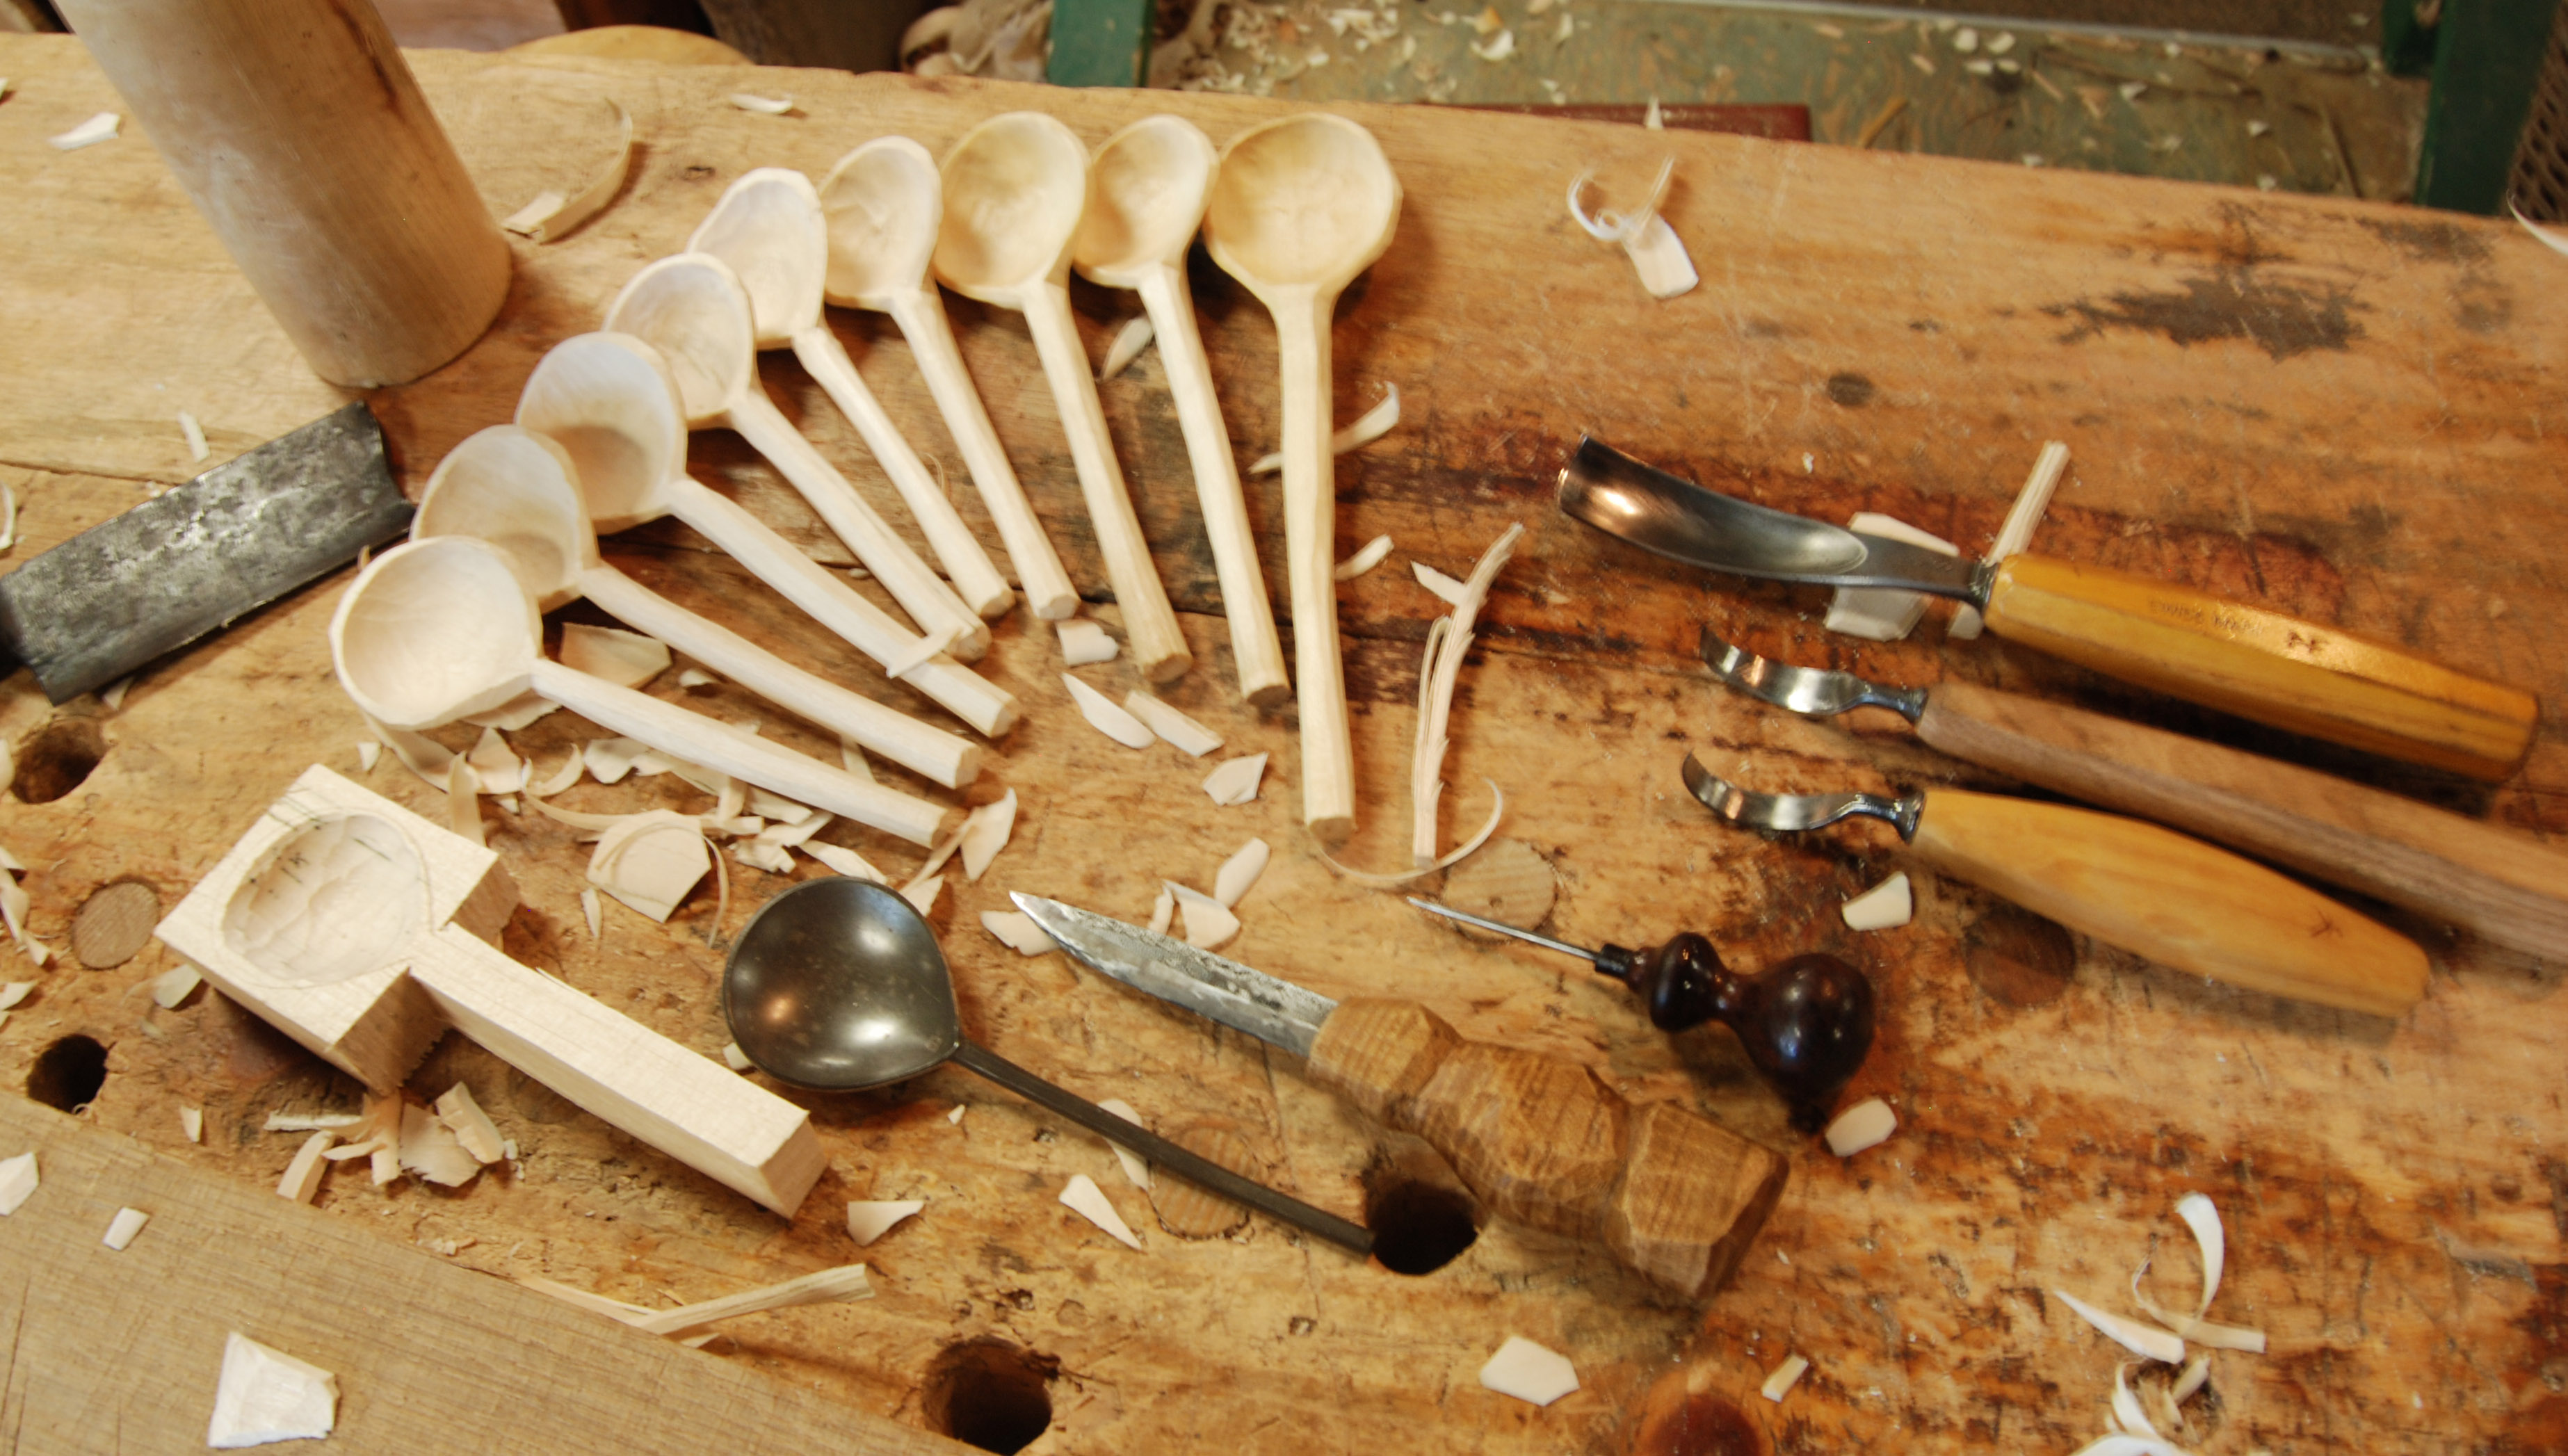
Things Required:
– Wood
– Wood carving tools
– Clamp
– Protected work table or counter
– Saw
– Rasp
– Mallet
– Sandpaper
– Finishing oil


Instructions
-
1
First, you need to select an appropriate wood type that you want to use for your spoon. Here, you should try to choose a carving wood in the medium range of hardness like birch.
-
2
Use a clamp to hold the wood in place and saw the wood to the desired length of the spoon plus an inch. If you are using a small log, split or saw the wood across the diameter of the log so that you end up with half of it.
-
3
Draw the shape of the spoon on the flat surface. You can plan for finger holds, a space at the top to be drilled for a leather loop, or just allow the handle to curve slightly to retain the natural feel of the wood.
-
4
Clamp and saw the general shape of the spoon. Remove as much material as you can with the saw as it is faster than carving. Remember that once the wood is gone, there is no getting it back so be careful not to over cut. Plan to adjust your clamping position frequently to allow you access for cutting and carving.
-
5
Use chisels and gouges to remove more wood and bring it closer to the desired shape. Always push the gouge away from your body. Notice the grain of the wood and how you can carve with it. A mallet to tap the chisel or gouge is effective. The bowl of the spoon and the neck of the handle will give you the most challenge as you will find you are going across the grain. Employ patience in these areas by removing smaller pieces of wood. This will prevent over-carving or splitting.
-
6
Finalise the shape with a rasp as it will remove the gouge peaks and is a great tool for adding finger holds or sculptural effects to your spoon handle.
-
7
Finally, you can sand the spoon. Start with rough, then medium and finally fine sandpaper. Here, you should try to smooth every inch of the spoon with each grade of sandpaper. Don't rush it, the smooth and wonderful feeling of the finished sanding is well worth the work. Seal the spoon with butcher block oil or equivalent food grade finishing oil. Enjoy your new wooden spoon.


