How to Create Email Address on Gmail
It would have been very difficult in the world today if we had to travel miles just to deliver an important message to someone. Hats Off to the internet and the electronic mailing facility which has made this very easy. Now just within a flick of an eye lash, you can deliver messages to anyone in almost any part of planet earth via email. For some reasons, if you are new to the world of internet then you must understand that to send an email you should always be having an email account. You must have heard a lot about yahoo and hotmail and may also be familiar with their use. However, this article discusses creation of an email account on Gmail which is another email hosting website like Yahoo and hotmail.


Instructions
-
1
With your computer in front and connected to internet, first of all drag the cursor to internet explorer, fire fox or chrome and double click.

-
2
Once you see the home page after double clicking the explorer, drag your cursor to the address bar you see at the top starting with http.

-
3
On the address bar, type gmail.com and you will have the Gmail home page opened on your computer screen.

-
4
At the top right of Gmail home page, you will see a red button with CREATE AN ACCOUNT embossed in it.

-
5
When you will left click on the red button, you will see a new page asking for some information to be filled at the right side of the page.

-
6
You are being asked to provide the required information starting from your first and last name as well as an email address or ID of your choice.

-
7
Gmail will check the availability of your proposed email address. Hence, if it is available or unavailable, you will be notified at the very instant.

-
8
After you are confirmed with the availability of your proposed email ID, you will have to provide a password. It should be atleast a 6-letter word that you can remember easily.

-
9
Providing the password, you will provide the date of birth, gender, mobile number and any other email for verification of your account along with typing a code in a given box.

-
10
Last but not the least, you will confirm name of your country and click on “I agree to the Google terms of service and private policy”.

-
11
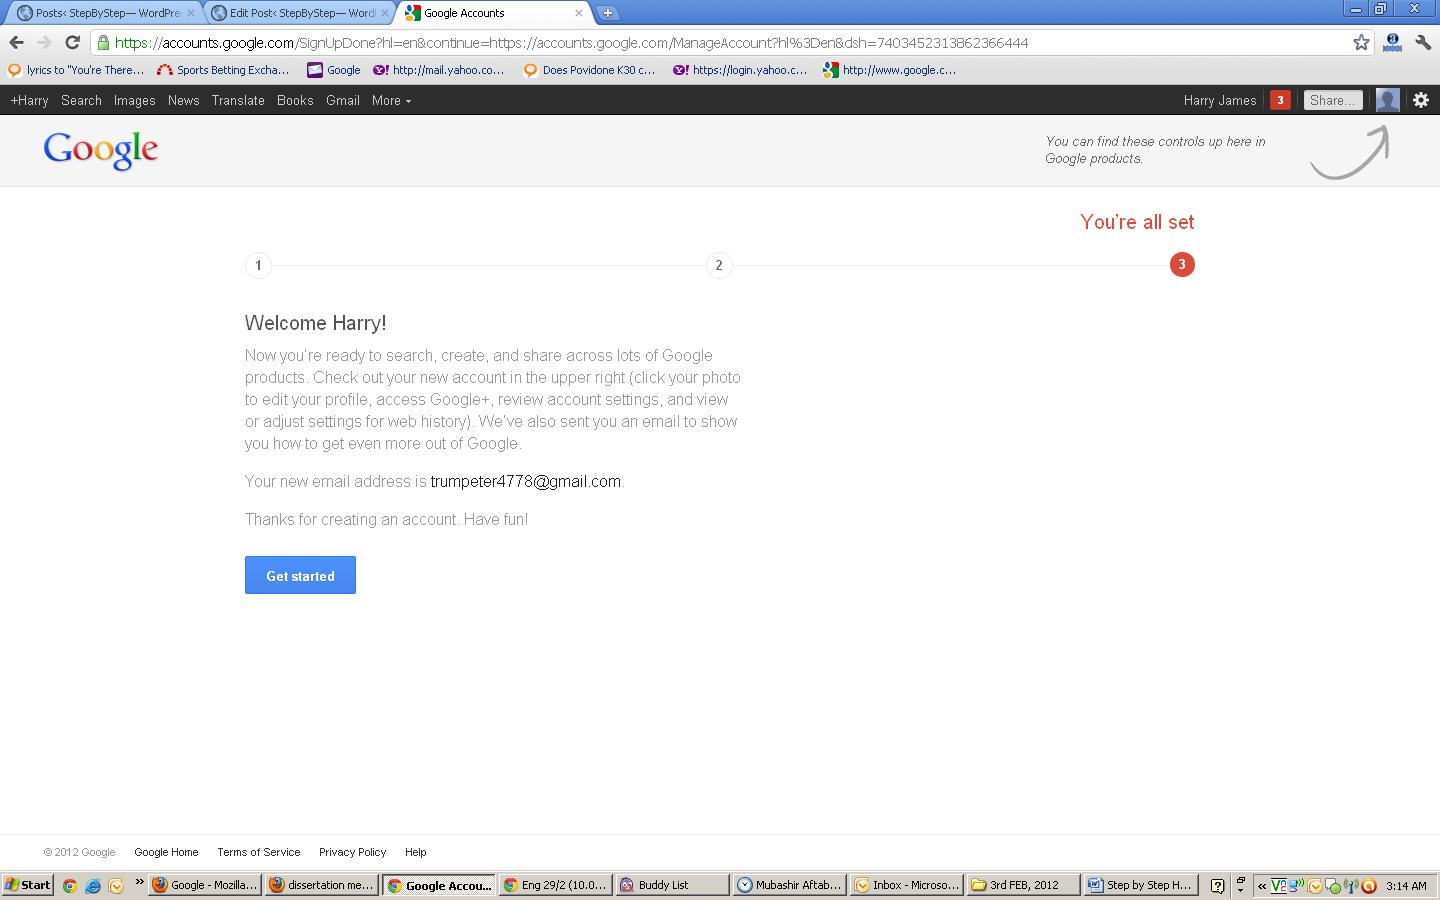
Finally, there will a blue button at the bottom right with Next written on it. There will a new page asking you to upload your photo which is optional.

-
12
After uploading the photo, you will again click the Next button. Your Gmail account has now been created and you can use it if like to.


