How to Decorate Windows 8 Start Screen with Personal Photo Tiles Collage
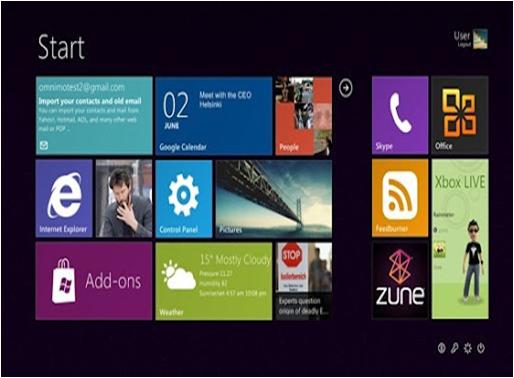
Start Screen in Windows 8 is not that attractive, but let me tell you it is extremely helpful if you want to locate all the apps and settings inside the Windows in just few seconds. There are so many articles on how to get back to the classic mode of Windows or disabling modern interface in Windows 8, but there are certain ways of beautifying your Windows 8 Start Screen and by doing this, you would not want to go back to the previous modes.


Instructions
-
1
Custom Tile Maker for Windows 8
First of all, you need to download Custom Tile Maker on Windows 8, which can be found from the App Store. After downloading, install it according to the given procedure. Since this is a Modern Windows 8 app, so it will be automatically installed from the Windows Store. Now, look for the Custom Tile Maker in Store and install it.

-
2
When you have installed the app, open it with the help of the Start Screen icon. Now, find out the photo with the help of Windows 8 modern interface itself. It is a bit difficult process for the new users, but you will quickly learn it in the two or three attempts.

-
3
After you select the desired photo that you want to apply, you will be asked by the app about the design of the tiles and its position. Simply double click/tap the tiles separately to pin it to Start Screen.

-
4
After you have pinned the tiles, then look at your Start Screen to verify that the changes have been made accordingly. It might be possible that you will be asked to manually arrange the tiles.


