How to Draw Wrinkles on Clothes
As one’s skills develop they are able to take on and learn more advanced techniques. One such technique which adds a nice level of depth and realism to a draw or illustrate adding wrinkles to clothes.
This simple, yet crucial element can make the difference between a fairly realistic drawing and one that really impresses others. Whether you are a designer or someone simply making a sketch, wrinkles will help the image come alive.
Things required:
– a reference image
– a slightly loose hand motion
– planning on where to add the creases and shadows
– a software which allows you to shade and use different colours


Instructions
-
1
The first step is to draw the entire outline, or rather a rough sketch of it. There are two options available here; either one could add the creases and wrinkles here or, if one is using the digital medium for the purpose, they can also be added later. Be sure to take your time when drawing your outline as this is the reference point for the entire illustration.
-
2
So in the case of the digital option one can easily erase the existing lines and add wrinkles. However, for the more conventional method, one needs to add the creases from the get go. It is best to roughly draw the creases with a light pencil on the initial rough draft before darkening it and filling it out later. The software can usually handle this for you.
-
3
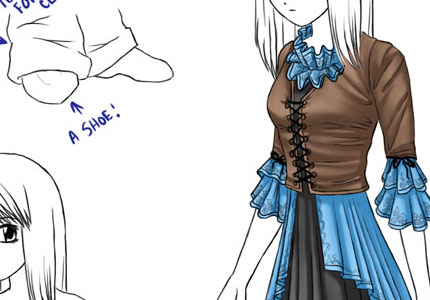
In order to draw wrinkles, use a reference image. There will be a number of long straight lines, a couple of short ones and a few ‘v’ and ‘u’ shapes as well. If the person is well built then the wrinkles should only be on the sides of the shirt, with the rest of the shirt fitting well.
-
4
Once the lines have been drawn, shade the area underneath the line. This will add depth to the wrinkle. Be sure to take your time when doing this as you will want the shading to look realistic.
-
5
That is not all as you will also have to make the crease or wrinkle pop out a bit as well. To do this, use a lighter shade of the shirt and airbrush it across the top the line. Just a touch, nothing too strong.
-
6
By themselves the previous two steps will not do much, however, when combined they will make the wrinkles stand out and come alive as it were.


