How to Install a Truck Toolbox
Installing a toolbox in your truck is extremely necessary, as you do not want all the tools placed around in the bed haphazardly. Many believe that installing the toolbox is a difficult task, but in reality, one can easily install it.
Things Required:
– Foam or Rubber padding
– Ratchet
– Extension
– Socket Set


Instructions
-
1
Before purchasing the toolbox, one must measure the width and length of your truck’s bed. Toolboxes for trucks come in different sizes, shapes and materials. Toolboxes made up of plastic are less expensive, but they are not recommended for keeping heavy tools. However, a diamond plated metal toolbox with locks is perfect for keeping heavy tools. One must keep in mind that they should buy a toolbox that perfectly suits their need.
-
2
Once you have selected a toolbox, you should read its instruction manual. It will determine what things you need to install it, as some toolboxes require drilling to install, though, these types of toolboxes are not recommended. All the quality toolboxes come with hardware that makes them easier to install.
-
3
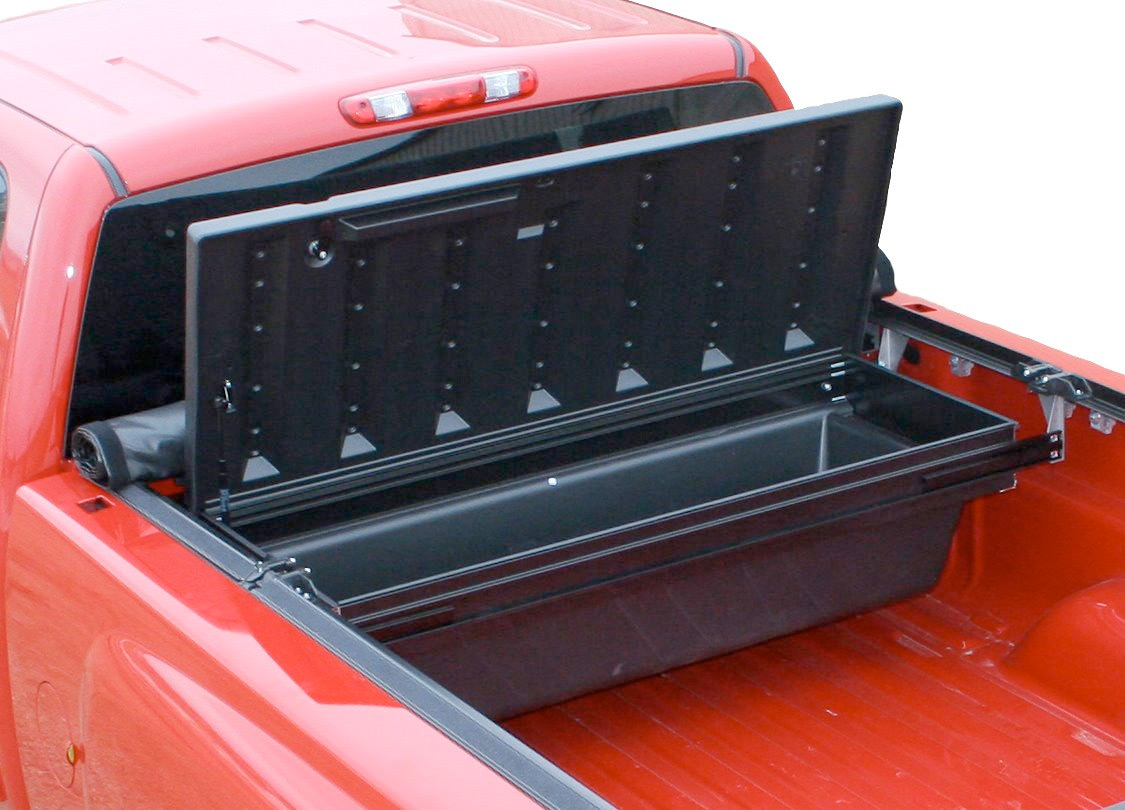
After you have purchased the toolbox, determine the place where you want to install the toolbox. Most of the people attach the toolbox directly behind the cab. If you want to install it on the back of the cab as well, just make sure that you can lift the toolbox lid, if you have choosen a lift drawer toolbox, without interfering with the back or the rear window.
-
4
In the pre-drilled holes of the toolbox, insert the rubber j-bolts plugs, and gently place the toolbox over the body of the truck. It is recommended that one cut a piece of rubber or foam of the same measurements as of the toolbox, and install the toolbox over it to protect the body of the truck from scratches and paint.
-
5
After installing the toolbox, make sure that it is perfectly adjusted and it does not leaves its place. Now open the lid of the toolbox, and insert a hook of the j-bolt under the bed rail. Poke the threaded part up and apply washer from hardware kit and then nut. Repeat the process over all the 4 j-bolts, and tighten them up with ratchet, extension and socket. It will secure the toolbox completely, and it will not move even a centimetre from its installed place. One can now place all the tools inside the toolbox.


