How to Install Baseboards with Glue
There are two types of baseboards out there that you can purchase. The wood based traditional baseboards which require a lot of work to get installed. On the other hand, the other type of baseboards are the vinyl baseboards, which are easier to install and available in a much wider variety of colours and types.
Vinyl baseboards just like other baseboards require some precision, but once cut up, they are a whole lot easier to install. This is because all you need to do is use some form of glue or adhesive to install them and be on your way.


Instructions
-
1
Measure
The first step is to measure the area of the wall where you are going to be installing your baseboard. -
2
Mark
The next step is to grab a piece of the vinyl baseboard and mark out the length that you need to cut out. This is based on the measurements you took just a moment ago. -
3
Cut
Once you have marked out the molding, the next step is to cut it out. Ideally it would be better to flip the molding over and cut it from the back, this is because it will prevent any scratches and cuts to be shown on the front side, that everyone will look at.
At the same time, it would also be a smart move to get something to hold the baseboard steady when you are going to be cutting it. This is because any slipups could result in you having wasted the whole piece of baseboard that you were working on. -
4
Apply glue/adhesive
Once you have cut out the baseboard, the next step is to apply adhesive to it. Do this by spreading adhesive evenly all across the back of the baseboard. Start in the centre and then spread out to the sides. Try to keep a thin flat later going, in order to give it a good stick, with very minimal glitches. -
5
Place on wall
The next step is to take the baseboard and attach it to the wall. Make sure you do this carefully, as you gently place the baseboard against the wall and tap it against the wall firmly.
Hold it in place for a moment or two and make sure it is secured firmly in place. -
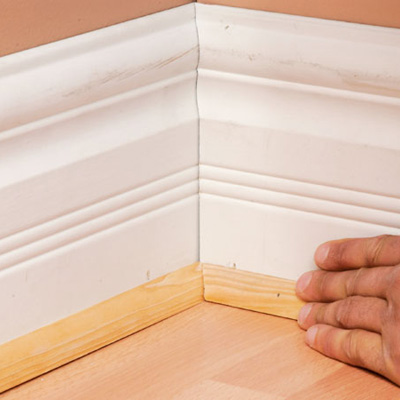
6
Repeat
Now all you have to do is repeat the process and ensure that you don’t leave any gaps between the connecting pieces.


