How to Install WordPress on Hostgator Using Fantastico
If you are planning to install your WordPress Blog on Hostgator and you do not know how to do it, then you have reached the right place, as this article will talk about the process involved in setting up your WordPress blog on one of best web hosting platform available online.
Installing WordPress on Hostgator is really easy and even a novice user can do it in five minutes, if he knows the right process. Just order your hosting package, according your blog’s requirements, and start installing your WordPress Blog right away.


Instructions
-
1
Purchase a webhosting package and login to your Hostgator’s control panel, known as cPanel.
-
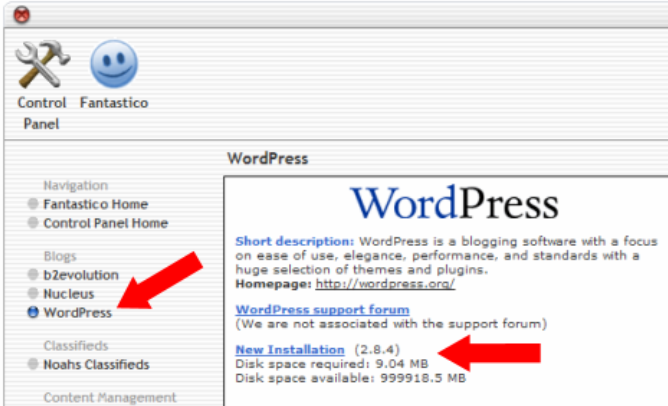
2
Scroll down the page and locate the “Software/Services” section, where you will need to click on the Fantastico icon, the icon with the blue smiley face. This will open Fantastico page, where you will see a bar at the left side, with different text links on it. Locate and click on the “WordPress” text link.
-
3
Choose the domain where you want your WordPress to be installed. If you purchased individual webhosting plan, then you will have only one option to install the WordPress on only one domain. On the other hand, if you order shared hosting plan, then you will have the option to choose from multiple domains to install the WordPress.
-
4
Locate the "Admin access data” section and enter the username and password of your WordPress account. Make sure you enter the account information for the account which you want to use with Hostgator.
-
5
In the "Base Configuration" fields, enter the name which you want to be associated with all your posts in your WordPress Blog. In addition to that, you will also be required to enter your domain name and email address for your WordPress Blog.
-
6
Once you finished with entering all the required information, click the “Install WordPress” button.
-
7
A new window will appear, asking your confirmation about the information you entered. Read all the information carefully and if all looks good, click the "Finish Installation” button.
-
8
A confirmation message will appear on the screen about the installation of your new WordPress Blog. Here, you should write down all your login information or you can also take a print out of the information page, which you can use later, in case you forget your user name or password.


