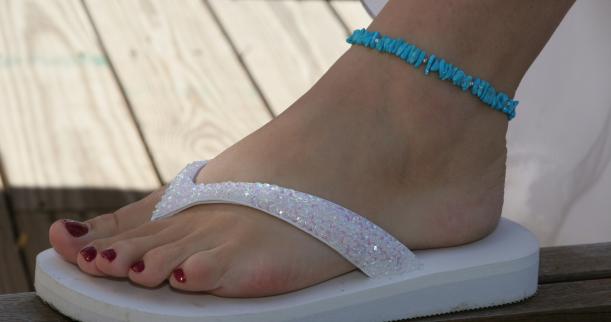
How to Make a Beaded Anklet
Different people have unique styles and they adopt various types of fashion to look prominent. Beaded jewellery is a delightful fashion accessory that enables people to express their style in a desired manner. Making a beaded anklet is an art and many people love to do it in order to give it a personal touch. Follow these simple instructions to help you make a beautiful beaded anklet that is to sure to impress.
Things Required:
– Crimp beads
– Bead tray
– Jewellery clasps
– Assorted beads
– Pliers
– Wire cutters
– Stretchy cords or jewellery wires


Instructions
-
1
First, you should measure your ankle properly in order to make a perfectly fit beaded anklet. Usually a 9 to 11 inch beaded anklet is considered as the standard size. You should use elastic which needs be at least six inches longer than the size of the anklet.
-
2
Now take the bead tray and set up a pattern of arranging beads on it. Make sure you give it the proper length and use a clasp to give it a unified look. You should take care of the length of the anklet as sometimes it can become too long at this stage.
-
3
Next, use the wire cording at one end of the clasp that is holding the beads in their place. Now you should string all the beads in reverse and adjust the length if necessary.
-
4
Attach cording to the other end of clasp as you need to use a wire cutter and pliers to keep the jewellery secure. Then use crimp beads to reinforce and also secure the cord by putting a knot in place.
-
5
Make sure that both ends of the cording are secured properly, otherwise the beaded anklet will not give a perfect look. The goal is to keep the sequence of beads in order to ensure the anklet looks symmetrical.
-
6
Always purchase beads of the same size from a craft store. Make sure you get extra beads which will help you in completing the beaded anklet if you lose or break any beads.


