How to Make a Paper Pinwheel
A pinwheel is a unique art that not only look amazing but a wonderfully inexpensive way to bring a cute smile to the face of your children. Making a paper pinwheel is one among the simplest activities that even small kids can make it under minor guidance.
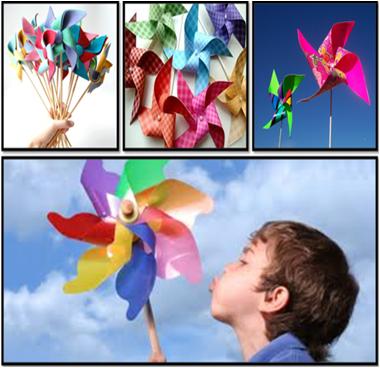
With just few easily available supplies and within few minutes, you can make your own colorful Pinwheels to explore the wind. You can decorate your personalized wind toys the way you want. The Pinwheels also make endearing decorations for a garden and flower pots etc.
Things Required:
– Piece of paper
– Lead Pencil
– Scale /Ruler
– Sharp Pair of Scissor
– Pencil colors, paint or crayons
– Stickers and magazine designs –optional
– Straight pin
– Stick / straw
– Hammer


Instructions
-
1
Cut Square
Take a piece of plain paper and use sharp scissors to cut it into a perfect square.
-
2
Draw Four Squares
Grab a pencil and ruler / scale and draw four perfect squares on the piece of paper.
-
3
Color the Squares
Now color in the squares, using a separate color for each. You can use pencil colors, markers, paints or crayons to color the squares. You can cut various pictures from newspapers or magazines and paste them in the squares, using glue. Moreover, you can paste some colorful or glitter stickers in the squares.
-
4
Draw Four Diagonal Lines
Draw four diagonal lines from the four corners of the squares to the center of the page. All you have to do is, take a scale, place it diagonally on the corner of one of the squares to center and use a lead pencil to draw a perfect line - just 3 cm from the center. Repeat the same method with the remaining corners of the squares.
-
5
Cut the Diagonal Lines
Cut along the diagonal lines, using a sharp pair of scissors. Make sure not to cut further than the lines your have traced.
-
6
Merge the Diagonal Lines
Using your index finger, bring the four edges to the center of the squared paper and hold them together. Make sure that all of the four edges of the paper are overlapping so that none of them escape.
-
7
Add Pin
Now carefully scooty your finger slightly to the side and gently push the pin through the middle of the four over-lapping edges of the paper so that all of the fit snugly on the top of one another beneath the pin.
-
8
Insert a Small Bead
Insert a small bead onto the underside of the inserted pin, forming the part that allows the wind wheel to spin between the stick and the paper.
-
9
Add a Stick
Place a light stick on your work surface of a flat surface and carefully press the pointed end of the paper's pin onto it. It will prevent the bead from slipping off.
-
10
Secure the Stick
Now use a small hammer to drive the pin into the stick securely. However, make sure that the pin is loose enough to permit the pinwheel to turn properly while exploring the wind.
-
11
Test your Pinwheel
You can test it by manually spinning the pinwheel or taking it to outside to watch it catching the wind.


