How to Make a Plywood Cornice Board
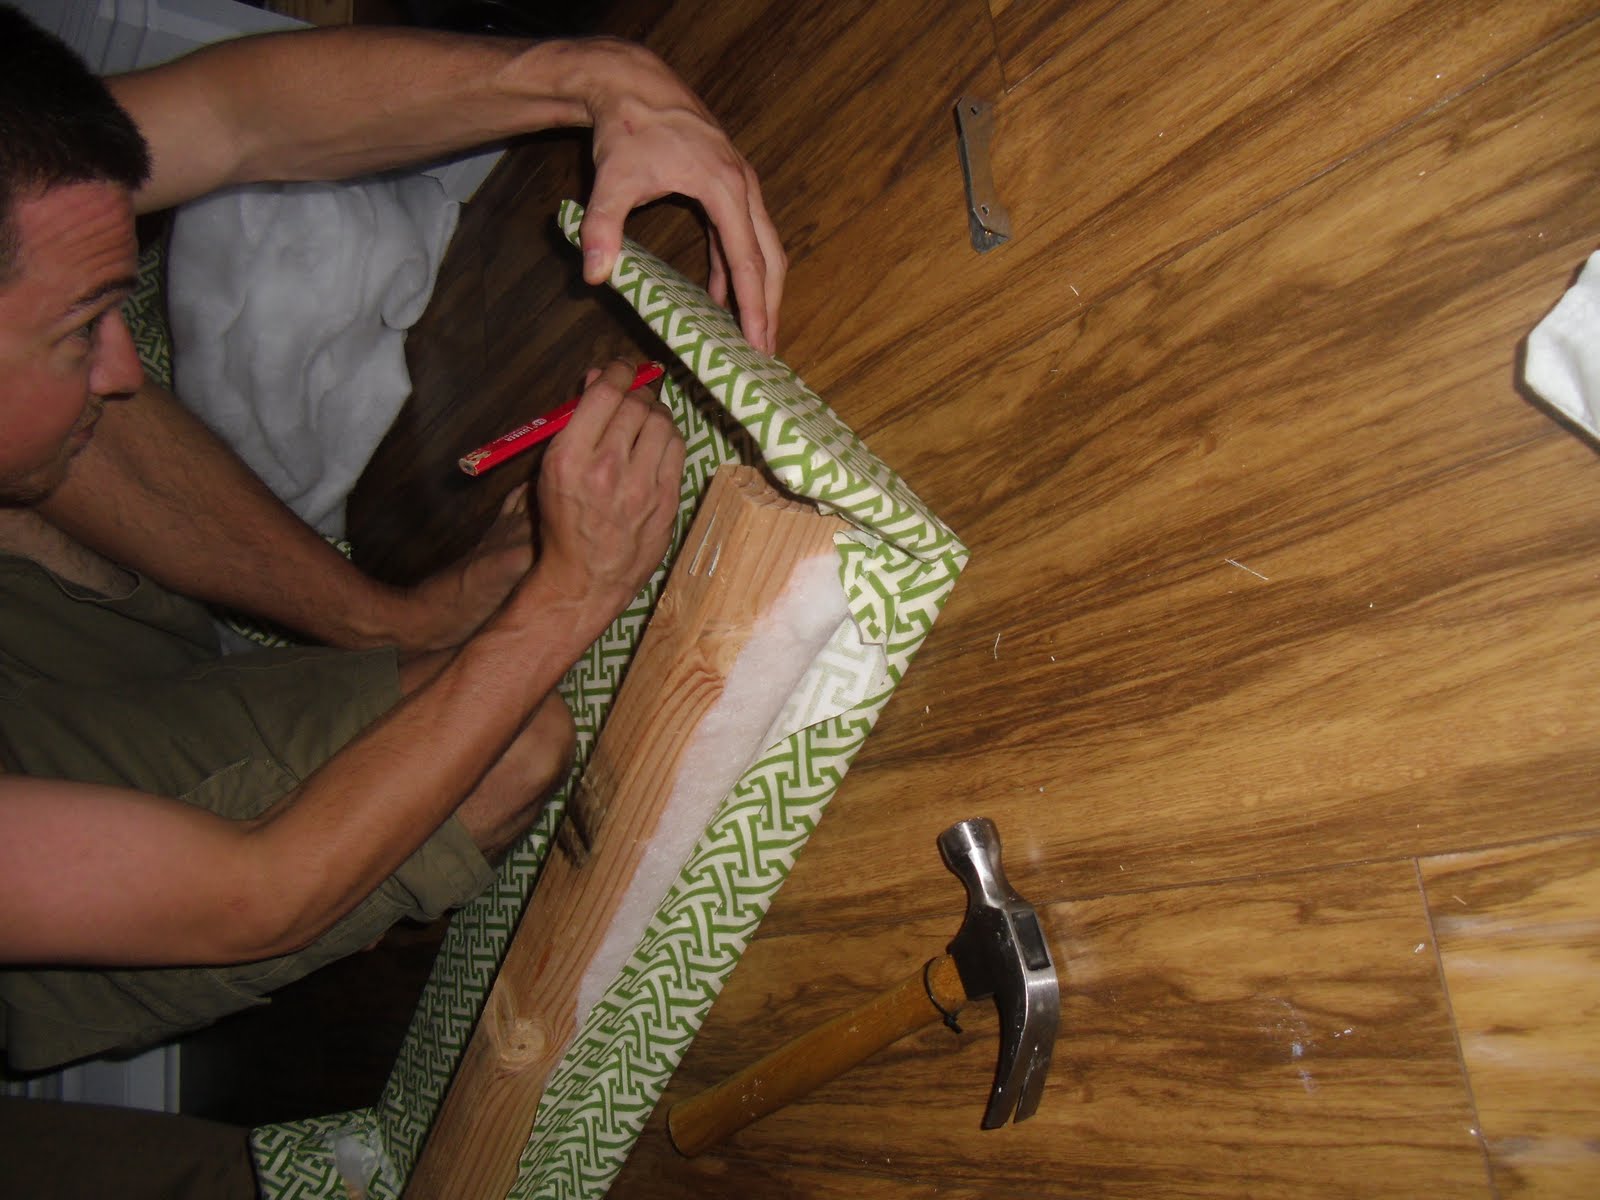
Cornice boards are a decorating material fixed at the top of the windows to give them a stylish look. They are generally made of wood but they can also be made up of plastic and fibre glass. They come in different versions and can be upholstered, stained or painted. Cornice boards serve a dual purpose. Not only do they cover up the least attractive portions of the windows, mostly corners. But they add a touch of grace to them, and provide a warm look.


Instructions
-
1
Measure the length and breadth of the window panel using a measuring tape. Add approximately 3 inches on the horizontal sides of the window, while adding about 4 inches on the vertical sides. It means that if the length of the window was 5 feet, the length of the cornice board will be 5 feet 8 inches. And if its width was 3 feet, the width of the board shall be 3 feet 6 inches.
-
2
Arrange a normal wood saw generally known as ‘table saw’. Purchase ample 3/4 inch thick cabinet material plywood from the local wood store. Now cut the plywood using the table saw about 3 inches wide of the window as previously calculated. Also cut two additional panels of 6 by 8 inches which are known as returns. Returns are like the legs of the cornice board which will hold the board against from the wall.
-
3
Find the tilt button on the miter saw, there will be a knob present on the back of it just below the blade. Turn it counter clock wise to let go of the tilt. Rotate the blade towards the right side till the indicator arrow makes 45 degrees angle with the blade. Now tighten it by moving the knob in the clockwise direction.
-
4
Place cornice board on the saw in such a way that its narrow edge is pressed up against the fence. Now align the top corner of the piece to be cut with the sharp end of the blade. Fire up the saw and cut along the edge of the board to in order to make a 45 degree miter.
-
5
Repeat the same steps with the other end of the cornice board and cut one a return 8 inches wide for each one.
Congratulations on setting up your own cornice board.


