How to Make an Inverted Planter
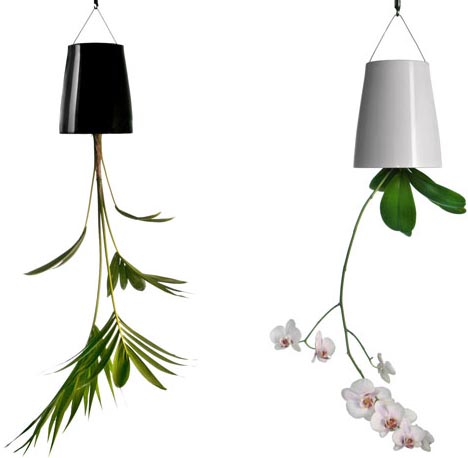
Inverted plantation is a modern farming technique that has been introduced to save space, water and energy. You would have noticed hanging pots in some offices and admired the lateral thinking. The good thing is that you can make an inverted planter yourself and decorate your living space without using an inch of the floor.
Though, there are many stores and nurseries that sell such pots but there is no sense in spending few bucks on a thing which you can easily make at home. However, you will have to follow some specific directions to make a perfect planter otherwise your time and energy will be wasted.
Things Required:
– An empty bucket
– Drilling machine
– Piece of fabric
– Strings (optional)
– Soil


Instructions
-
1
Find a pot to make planter:
First of all, you will have to arrange a pot that can be converted into a planter. The size depends on the nature of your plant. If you are planning to grow a flowery bush then a medium-sized container will be great. However, if you are going for other type of vegetation then a large pot is recommended to allow the roots to grow freely. Sometimes, people use paint gallons for such purposes but make sure that it does not contain any chemical. -
2
Drill a hole in the bottom:
Take a drilling machine and attach a 2 inch drill bit. Place your container or gallon upside down and drill a hole in the bottom centre of it. You better hold the bucket with your legs so that it is not shaky during the procedure. To increase the accuracy, you should measure the bottom of that container and then mark the centre before drilling a two inch hole. -
3
Place a piece of fabric:
Next thing you will do is to place a piece of fabric that can cover the hole. However, it does not mean that you won’t be able to feed your plants. It is just to avoid the wastage of soil and water. You will cut the fabric and make hole after adding soil. -
4
Attach strings to hang:
If you are using a bucket then there will be a handle, but if there is not any then you can attach strings to support the container. Make sure your strings are strong enough to hold the heavy planter. -
5
Add soil:
Now, when you are done with the container, it is time to add soil. Do not fill up to the brim rather leave some space. -
6
Sprinkle the seed:
Last but not the least, you will sprinkle the seeds and then keep feeding your plants through the hole.

- SoilNext%20stop%3A%20Pinterest "Pin It")
