How to Manage MX Entries for Email in cPanel
For a particular server MX Entry is responsible for allowing the user to route domain’s incoming mail. If you change MX entry then it means that the DNS records are changed. MX basically stands for Mail eXchanger Entry. This entity contains record that identifies the address of a domain, where the email should be sent; the mail server’s IP address helps in locating the domain.
You are allowed to make relevant changes in the MX Entry, by configuring email routing, adding a new MX entry, deleting an MX entry and editing the entry as well. Normally the default values set by the web hosting company are good to go, and being a basic level user you might not need to make any changes to MX entry. But yes, if you’re an advance user and have some issue in receiving and sending mails on server, you may opt for making some changes.
If you are not aware of the exact procedure with the help of which you can manage your MX entries then take a look at the guide arranged below:


Instructions
-
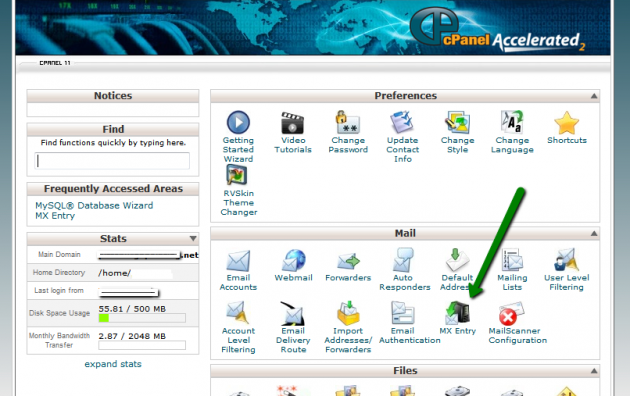
1
Configure Email Routing
If you mis-configure your MX entries then the ability to receive a mail will get disabled. For further information about the options contact the system administrator.
- First you will have to choose Domain from the drop down menu.
- Further select the Email Routing from the options viewed.
. Automatically Detect Configuration: automatically the server will not only detect and use but configures the set as well.
. Local Mail Exchanger: regardless of the mail exchanger’s priority level, the domain will accept mail.
. Backup Mail Exchanger: If the exchanger is unavailable then the domain will act as a backup because it will hold the mail in queue. But for that you will have to configure the primary MX entry.
. Remote Mail Exchanger: domain will send the mail to primary mail exchanger instead of accepting it.
- Make the relevant changes and click on Change. -
2
Add a New MX Entry
- First you will have to set a specific priority which is present under the Add New Record. Zero is the highest priority; checkout the main key points which should be kept in mind while setting a priority.
. As zero is the highest possible priority level that is why the lower values are responsible for denoting higher priority.
. The mail sent to your domain will be received by your primary mail servers.
. Those mail servers that have higher priority values such as backup and secondary, can be used for different purposes such as backup.
. If same priority level is assigned to multiple mail servers, and when that level of mail server is required then randomly the mail will be distributed to the servers.
- In the destination text box you will have to type the new mail exchanger’s hostname. Make sure you do not specify an IP address here.
- In the end click Add New Record. -
3
Delete MX Entry
- Next to the appropriate MX entry that can be viewed in the MX records list, Delete button is present, click it.
- To confirm the action click Delete again. -
4
Edit MX Entry
- In the MX Records List, edit button is present, next to the appropriate MX entry.
- According to your need change priority or destination
- For confirming the action click Edit again.