How to Reset a Sansa Mp3 Player
Thanks to MP3 players, music listening has become very easy now. The latest players are pretty small in size. So, you can carry them wherever you want. Just copy your favourite music, and refresh yourself.
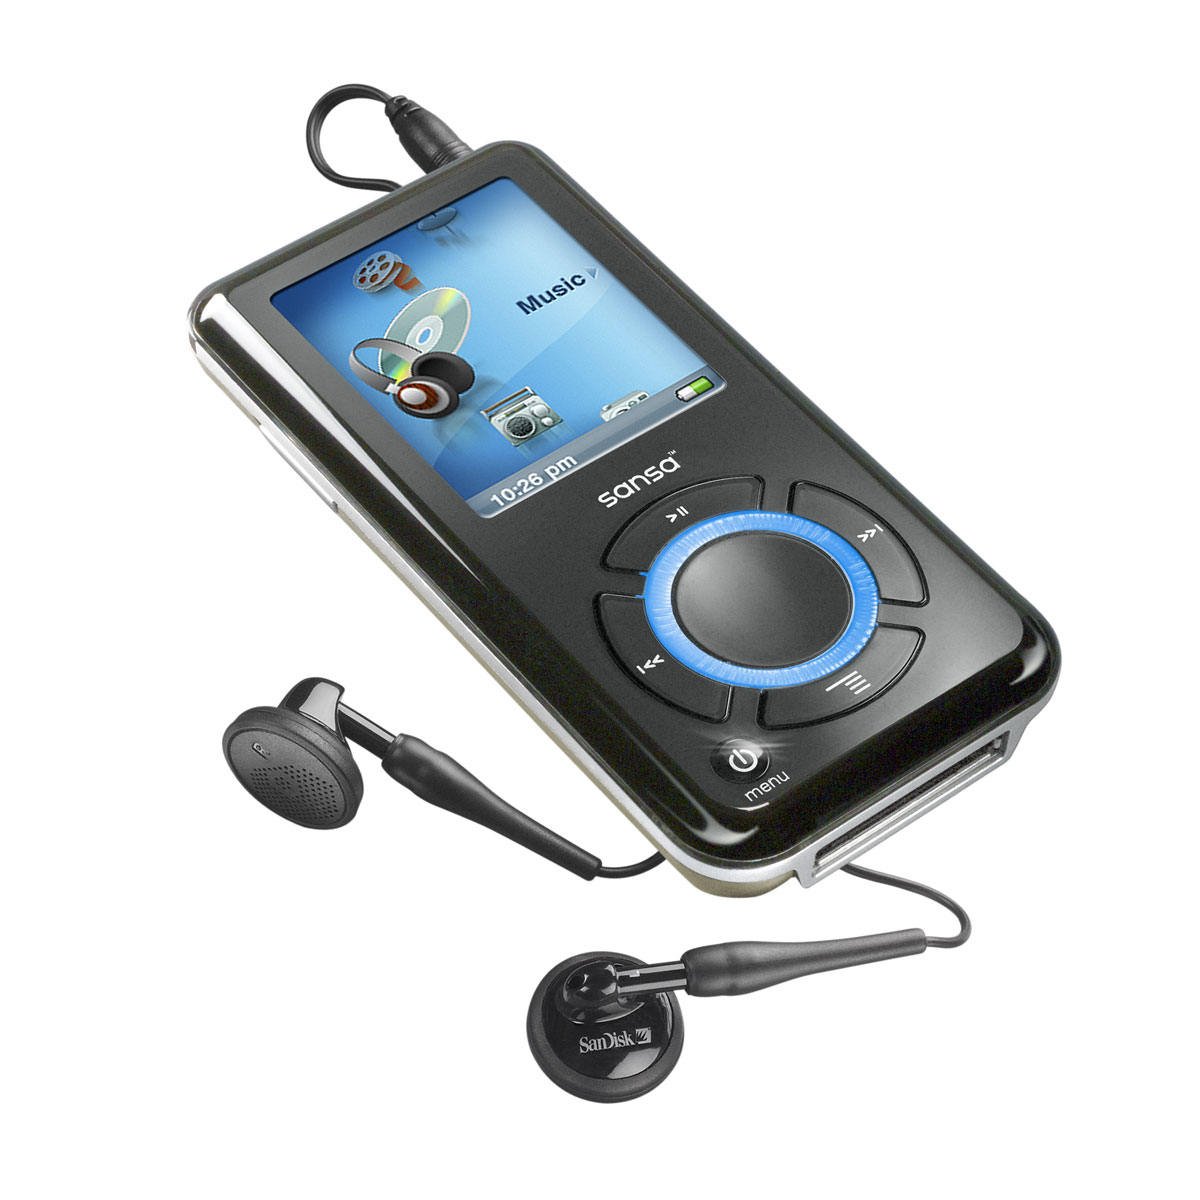
A Sansa MP3 player offers great listening quality. But just like other computer-based devices, it has a few problems. Due to continuous use, the Sansa player may freeze sometimes.
When freeze, the device stops playing files, and stops responding. This situation becomes very frustrating for the user. But luckily, it is not difficult to unfreeze the Sansa player. Just by making a few effortless moves, you can make your device work again.


Instructions
-
1
In order to reset your Santa device via command, you need to push the ‘Power’ button, switching downward into ‘Hold’ position.
Now, it is time to press the ‘Menu’ and ‘Record’ buttons. Press and hold both buttons at the same time, until the device resets.
The procedure will be completed, when you push the ‘Power’ switch upward to turn it back on. -
2
One can also reset the device via switch. This is probably the simplest procedure. After grabbing a steady hold around the player, press the ‘Power’ button upward. Hold the button until the device powers off.
Release the power switch to power it on. Pushing it upward again is also essential. -
3
There are multiple ways to reset the MP3 player. Fortunately, none of the procedures is difficult at all. Power-cutting is another simple way to reset the device.
The first step in this procedure is to remove the screws on the back of the device. Your model may not have any screw on the back. If it is a model without screws, simply push the lid off.
Make sure you are doing it gently, because excessive force could damage the cover. After removing the lid, gently take out the batteries from the slot. Wait for the screen to go black. The screen will surely go dead within a few minutes.
Once the device is completely dead, insert the battery back. Make sure the position of the batteries remain same. After inserting the batteries properly, put the lid back.