How to Set Up a Trampoline
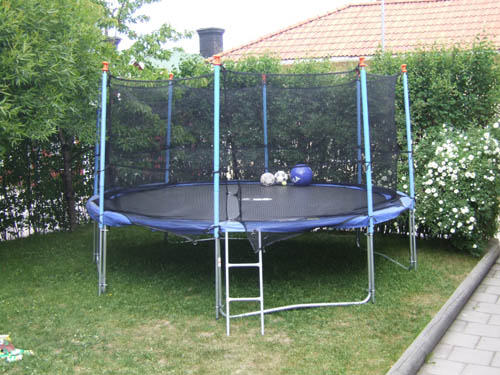
According to some, the use of trampolines can be traced back to the Inuits whereas others believe that the English should be given credit for being the first to use the trampoline. Irrespective of who gets the credit, trampolines are a lot of fun and great exercise. In current times, trampolines are made of a taut net and springs, and are commonly used in gymnastics or other forms of exercise.
Things Required:
– Trampoline parts


Instructions
-
1
Arrange the trampoline pieces in an organised row after removing them from the trampoline box. To make sure everything you will need for setting up a trampoline is present and nothing is missing, consider using a product sheet which lists all included parts. Check off each item on the sheet as you remove it from the box.
-
2
Be sure to assemble and set up the trampoline in the place where you plan to keep it, as it might be hard to remove later on. This is important, especially if you are setting up a very large trampoline.
-
3
Separate the trampoline legs from the rest of the items. Short pieces bent at an angle of 90 degrees are trampoline legs. Set aside the legs in a group to make them easily accessible.
-
4
Separate long pieces (mostly curved in shape) with holes on the ends from the rest of the trampoline components. The number of these pieces directly depends on the size of the trampoline you are setting up. However, in a large sized trampoline box, you should find about 6 to 8 of these pieces.
-
5
Pair one of the aforementioned long pieces with one trampoline leg and continue until all the long pieces have been paired. Assemble them all in order to create the trampoline’s frame. An enormous amount of pressure needs to be applied when building the frame. Pieces snapping together efficiently is a sure sign of the frame being sturdy.
-
6
For putting on the springs and stretching the net, it would be wise to enlist the help of some other people. When attaching springs and stretching the net, you will have to immediately pull the net over a spring that you just attached before moving on to the next spring. Continue in this manner until the springs and net are fixed in place.


