How to Set Up Multi Level Master Slave Umbrella Network Monitoring
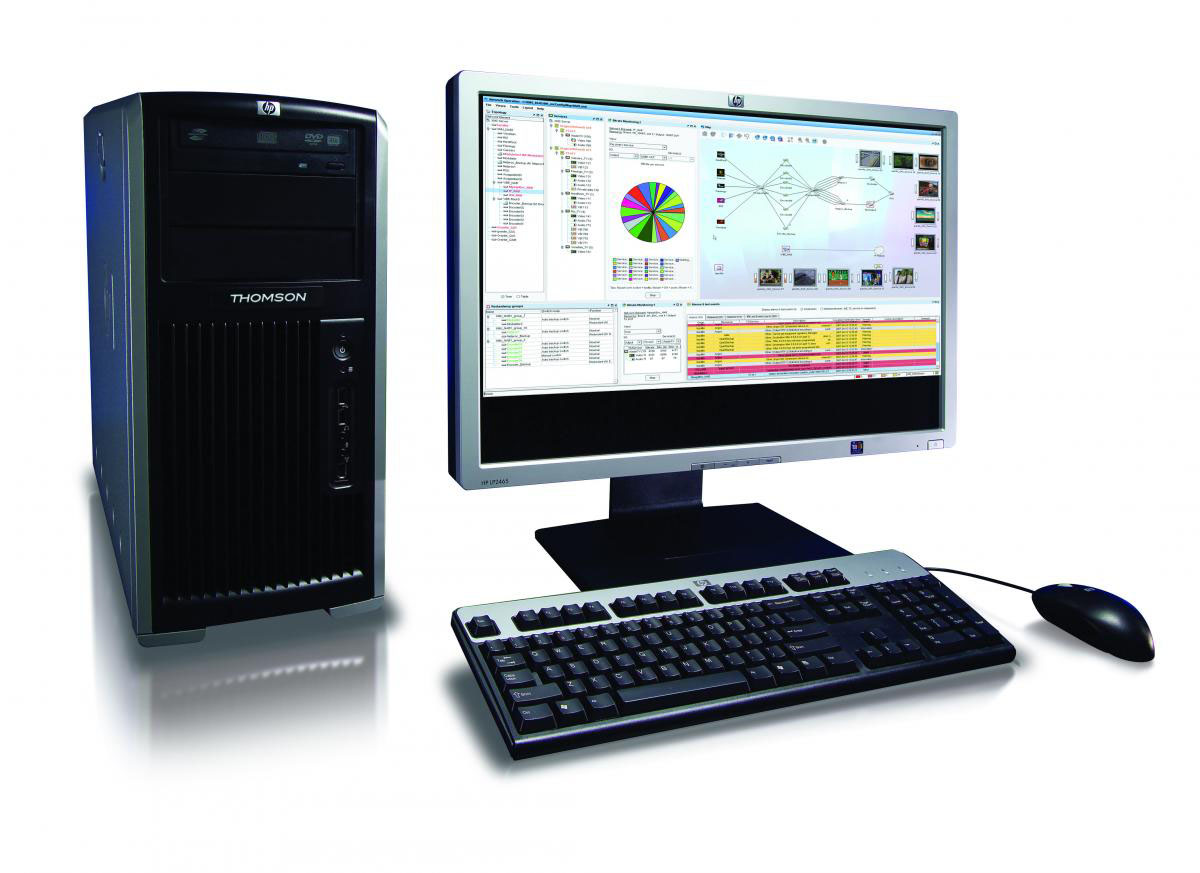
This article will provide you with a general idea about how to set up umbrella monitoring to monitor applications and devices in distributed networks. There are multiple examples of monitoring systems but in this article Verax NMS express is discussed, that can be configured in a master-slave, tree-like and federated umbrella monitoring structures. The main purpose of this umbrella-like monitoring is to examine the geographically scattered networks like for the telecommunications operators that have to check regional, state of national networks or managed service providers to manage their client’s network.
The process is divided into subsequent parts:
– Adding of Slave NMS instance.
– Adding of master NMS instance (within slave instance).
– Configuring managed devices and/or applications that will be shown in the master system.
– Configuring which events and alarms will be sent to the master.


Instructions
-
1
Adding a Slave NMS Instance (In a Master)
To add a slave NMS instance, just follow the below steps:
a) Log in to the Verax NMS.
b) Opt for the Home located in the main menu and select Applications from the aspects tree.
c) From the Managed applications list, choose Add application and hit the Go button (slave NMS instance will be examined as an application). You will be asked to put the following application parameters:
- Application type - choose Verax NMS.
- Instance name – write name of the slave NMS.
- Slave host – give the IP address of the slave NMS.
- Slave port – give port for slave NMS.
- Master host – provide the IP adddress of the master NMS.
- Master port – provide the port for master NMS.
- Password – give password to the slave NMS.
- P2P (not compulsory) - confirm to permit P2P support. Connections will be built from slave to proxy P2P server for the P2P enabled connections.
d) After giving required information, hit the save button and approve the default sensors and counters addition to the application.
-
2
You will be able to see the added slave NMS in the master's aspect tree after that.

-
3
Adding a Master NMS Instance (In a Slave)
To add a master NMS instance just follow the below steps (add master instance to slave for security issues)
a) First of all Log into the Verax NMS (slave instance).
b) From the main menu, go to Settings and then select Master NMS Configuration.
-
4
c) Go to Add and hit the Go button (slave can be examined by several masters).
d) Grant master's NMS name, IP address and set password and hit the Add button for confirmation.
You are now done with the configuration of MASTER-SLAVE connection, now you have to pick devices that you want to be shown in the master NMS.

-
5
Configuring managed devices and/or applications that will be shown in the master system
a) You can see the list of existing items in the left window panel. The devices listed in the panel are the entire devices and applications that can be monitored by the slave NMS instance.
b) From the list pick devices and shift them into right window panel with the help of arrows button on the top of the page and select save changes to verify.
c) The devices that you have picked will be shown in the master instance now.
If you follow the above steps as they are explained, the devices that were picked by you together with allied alarms and events will be displayed in MASTER NMS instance.
-
6
Configuring managed devices and/or applications that will be shown in the master system
a) You can see the list of existing items in the left window pane of the. The devices listed in the panel are the entire devices and applications that can be monitored by the slave NMS instance.
b) From the list pick devices and shift them into right window panel with the help of arrows button on the top of the page and select save changes to verify.
c) The devices that you have picked will be shown in the master instance now.
If you follow the above steps as they are explained, the devices that were picked by you together with allied alarms and events will be displayed in MASTER NMS instance.
-
7
Configuring Which Events And Alarms Are Forwarded To The Master
a) From the list of visible items select device in the master NMS located in the right window pane.
b) To filter alarms click the icon in the column “Relayed alarms” and to filter events click on Relayed events.
c) Choose your desired filter and hit Save changes button to verify.
If you follow the above steps as they are explained, the devices that were picked by you together with allied alarms and events will be displayed in MASTER NMS instance.
-
8
Testing Umbrella Configuration
a) Find out the master NMS and from the list of aspect tree choose slave instance.
b) Now select Monitors tab and opt for Acquire a single sample now option to confirm that the connection has been accurately made (in case you get any error verify the information that was provided by you at the time of adding instances).
c) If you haven’t faced any problem then go to Summary tab and select Show advanced view.
d) Managed objects tab shows all devices that were selected to be shown in the master instance. These devices are also available in the aspects tree of the slave instance node.
-
9
In the end, you have to test performance chart for slave instance, with the intention to test performance, go to Slave NMS Monitor from Charts tab.

.
- Configuring managed devices and/or applications that will be shown in the master system.
- Configuring which events and alarms will be sent to the master.Next%20stop%3A%20Pinterest "Pin It")