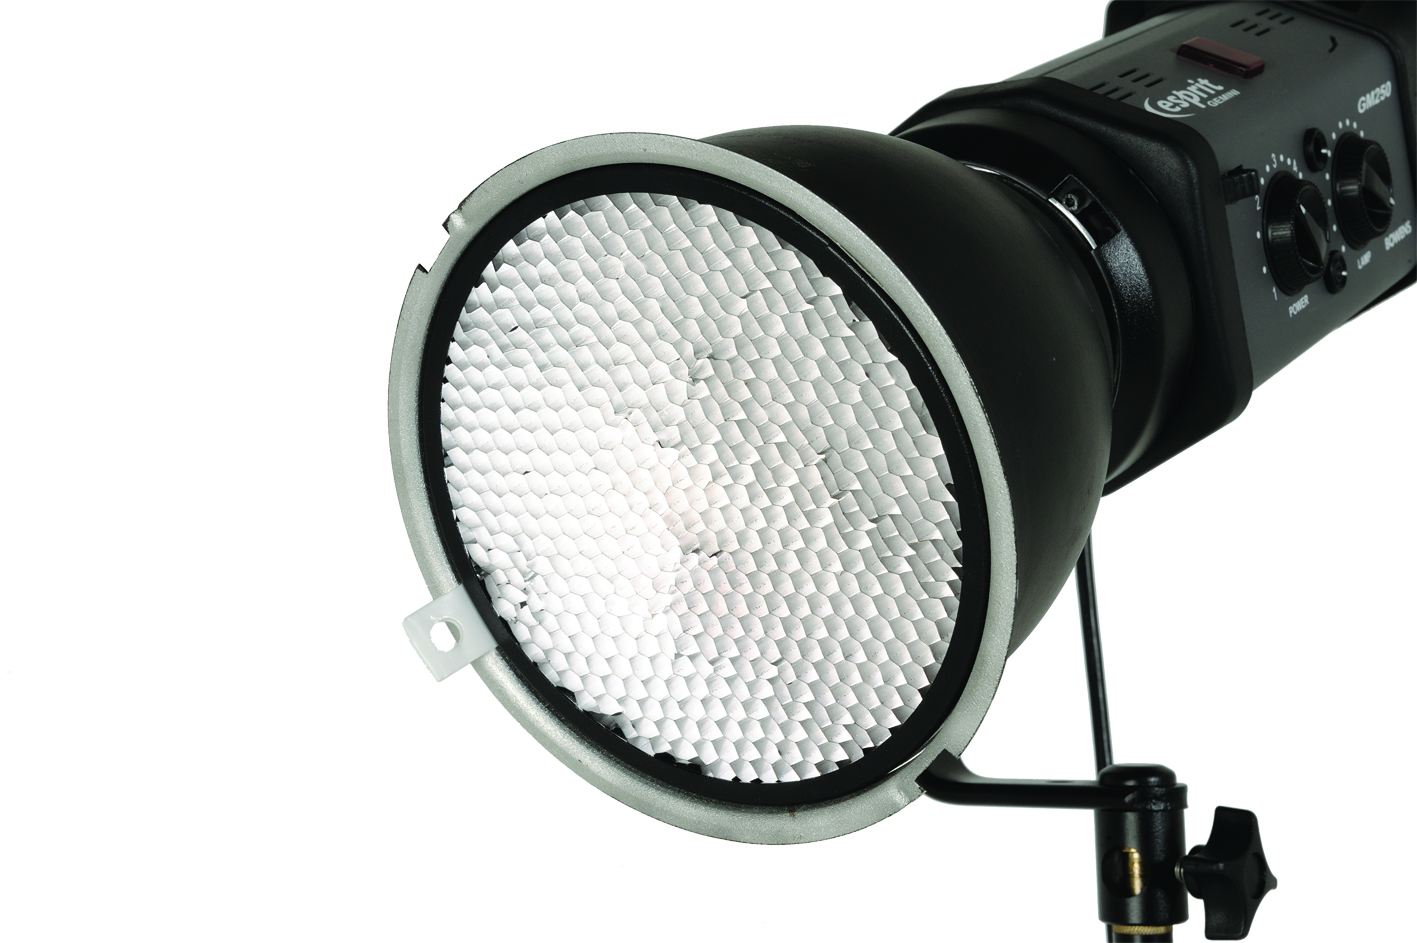
How to Use Lighting in a Photography Studio

The art of producing images which look three dimensional require the use of photography studio lighting. Light placed at certain angles with respect to the subject impart a rounded look to the photograph. There are two possible methods of setting up lights in a studio; floor method and ceiling method. In the former method, lights are mounted on stands whereas in the latter method, lights are mounted on a rail ceiling. Here is how you can use lighting inside a photo studio in order to get the best possible results.
Instructions
-
1
The positioning of lights in the studio, camera and the subject is done referring to the 1 to 12 numbers on an analogue clock. The 12 o’clock position will act as the background of the studio. The background is a plain sheet in most cases.
-
2
The subject has to be positioned at a distance of approximately 5 to 6 feet from the background, exactly halfway of the background. This will position the subject at the point where the hands of an analogue clock pivot. This point is also the centre of the analogue clock.
-
3
Place the camera, approximately at a distance of 5 feet from the subject, at the 6 o'clock position of an analogue clock. If you want to make changes to the depth of field or perspective, you can either move the camera towards or away from the subject.
-
4
The brightest light needs to go midway between the 7 o'clock and 8 o'clock positions. The distance between the main light and the subject will be less than the distance between the camera and the subject. The main light is responsible for illuminating the subject properly.
-
5
The second light which is also known as the fill light has to be positioned at the 5 o'clock position. Generally, power of the fill light is half the power of the main light. Fill light is responsible for preventing harsh shadows on the subject. You may want to adjust the fill light’s power to a desired level.
-
6
A third light also known as the hair light goes at the 1 o'clock position. Make sure that the hair light is out of the camera’s view but is relatively close to the subject. The hair light can either be focused at the subject or at the background. Considering taking the photograph with the hair light focused at both possible locations.


