How to Make a Cyanotype
Adding different visual effects to photographs is not only a creative hobby but it also gives a new dimension to the picture. One of the most popular photographic printing processes is the cyanotype, which gives a unique cyan-blue print to make the photograph look entirely different. It seems strange how a single-coloured photograph may look impressive but you will be really surprised to know how elegant cyanotypes look. The first cyanotype was made in 1842 and through years of development in technology, it has become very easy to perform by everyone.


Instructions
-
1
You need to set up a dark room for making the cyanotypes. An appropriate workspace with a safe light will be considered ideal. Make sure the room you have selected don’t have any access for sunlight and is as dim as possible.
-
2
Since you have to deal with some chemical in the process, you must wear safety gloves before doing anything. You will need to mix together 25g ferric ammonium citrate and 100ml water in a plastic bottle. Moreover, you have to prepare a mixture of 10g potassium ferricyanide and 100ml of water in a separate plastic bottle.
-
3
Take equal amounts of both solutions and mix them in a cup. These mixtures don’t last for long and the excess one need to be discarded. Hence, you should only prepare these solutions when you need to print the cyanotype.
-
4
Take a watercolour paper upon which you desire to get the print and apply a coat of the chemical solution on to it. You can use a paint brush or a sponge for this purpose. Make sure to apply the chemicals on merely those parts where the negatives will be placed.
-
5
Let the watercolour paper completely dry in the dark room. Ensure no sunlight enters the room or your entire work will be wasted in a flash!
-
6
Now place the negatives on the dried paper carefully. You can use a secure-backed picture frame to hold the two things firmly in place. Cover them up with a light-protective piece of cloth and take them outside.
-
7
You have to place the covered negatives in direct sunlight for 10 to 15 minutes before proceeding further.
-
8
Bring the negatives and paper inside and place the paper in a plastic tray. Pour water over it and let it sit for 5 minutes.
-
9
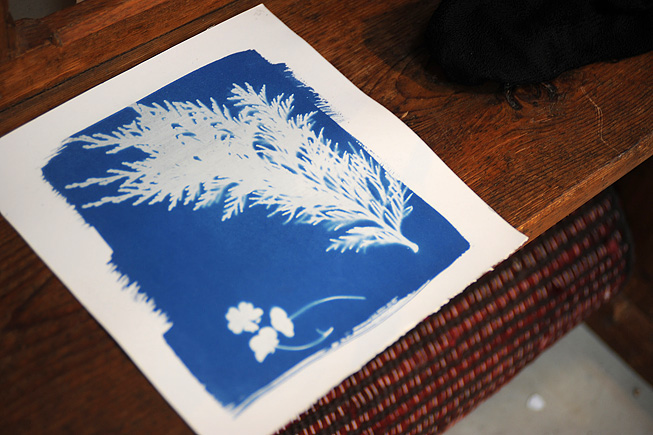
Add a cap-full of hydrogen peroxide to the water and you can preview the final image you have got on the paper.
-
10
Take out the paper and allow your cyanotype dry completely.


