How to Build a Mandolin from Scratch
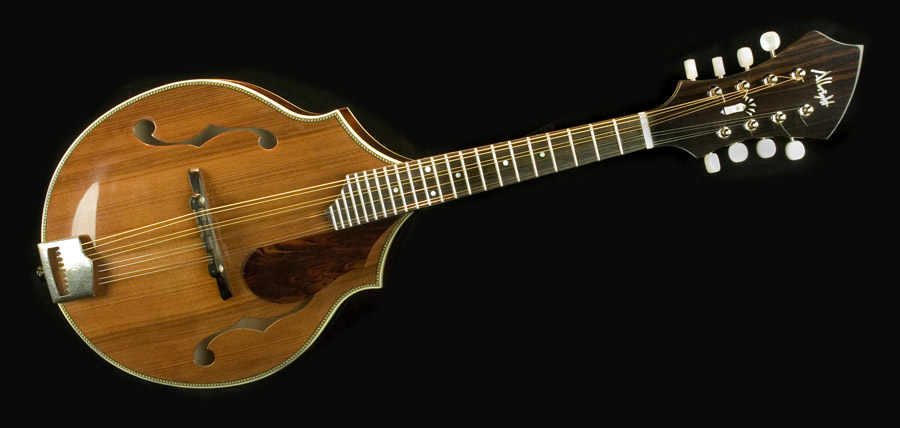
If you are a musician having some woodworking skills, you can build your own mandolin very easily. You will have to be crafty with the woodwork you do if you want the mandolin to have a perfect finish. Here is what you will need to build a mandolin from scratch.
Things Required:
– Wood
– Table saw with tenoning jig
– Wood glue
– Wood chisels, files and rasps
– Sandpaper
– Band saw
– Small wood vise
– C clamps
– Kerfed lining
– Clothespins
– Coping saw or small scroll saw
– Hand drill or small drill press and bits
– Masking tape and double-sided tape


Instructions
-
1
Determine if you want to use plans or a proper kit for building the mandolin. You should opt for a mandolin kit especially it this would be your first attempt at making a mandolin.
-
2
Start by building the mandolin’s form. You can use plywood for the form but when it comes to making the real parts, you will have to use higher grade wood. Acquire the form’s teardrop shape by printing the form on a piece of paper, applying the form to the wood and then cutting the wood accordingly. Follow your mandolin plans in order to apply and carve the tail block. You will have to use the wood rasp in order to carve the head block shape.
-
3
You may have to resize the mandolin sides to adjust their thickness if required. Once that is done, bend the sides. You will have to use a steam bending method for bending the sides. In this method, you will have to soak the wood in water until saturation and then bend the sides, making use of the steam bending apparatus. Use rubber clamps to hold the bent sides in place and allow time for the sides to dry and cool completely. Use a piece of sandpaper to sand the sides of the octave mandolin.
-
4
Use a band saw for cutting the neck according to plans. In case you are using a kit to build the mandolin, the neck may already be there. Attach mandolin ears to the neck with wood glue and clamps. Smooth out the surface of the ears with sandpaper. Attach the head templates and smooth out the head as well by sanding it.
-
5
Attach head, tail blocks and rim referring to the plans. Use wood glue or epoxy for this purpose. During drying, keep the rim and neck held in place with rubber clamps or a band. Use wood files and rasps to carve out the neck. Use wood glue to join together the neck and rim. Clamp it while the glue dries. Use wood glue and clothespins to apply kerfed lining.
-
6
Cut the top and bottom parts according to plans, marking the position of sound holes by drilling a small hole. You will have to use a coping saw for making the sound holes and a wood file to finish the holes. Attach bracing with glue and provide extra support with clamps. Similarly, attach the top and bottom to the rim the same way you attached the bracing.
-
7
Cut the fretboard and secure it in place by feeding copper wire in between holes on neck and fret slots. For a clean finish, apply stain and clear coat. Follow the manufacturer’s instruction to install the tuners and the tailpiece system. Finally, use frets to cover fret board holes and attach strings.


