How to Cut a Clip from a Real Media Video
If you own a computer and have some knowledge of file extensions for video files, then you must also know that Real Media Video is a file type offered by Real, a digital media brand. The Real Media Video file works same as MP4 or WMV video files and also gives almost the same results.
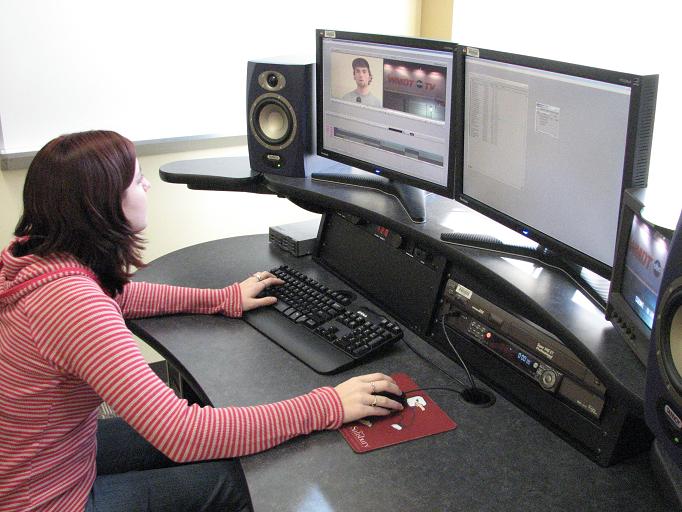
If you have a Real Media Video file and want to extract some part out of it, then you will need a video editing software program, which you will use to cut the specific part of the video. Cutting clips from videos is an option which every video editing software provide to its users.


Instructions
-
1
Launch the video editing software, which you will use to cut a clip from the Real Media Video. The most commonly used video editing software programs used by people is Windows Movie Maker for PC and iMovie for Mac. There are hundreds of other video editing software programs available in the market. However, you should choose the one which provides the option to edit Real Media Video files.
-
2
Select the video which you want to cut for the clip of your choice. Load it in the video editing software. You can do it by going to the “File” menu and then selecting “Open” or “import” option. Select the video and click the “Open” button.
-
3
Now bring the video to the timeline. You can normally do it by dragging it from the library or a separate area of loaded files, and dropping it on the timeline.
-
4
Now you can drag the time marker to the position where you want the clip to start. You will see the video in the video pane, showing the current scene of the video where the marker is set. Click the “Split” or “Cut” button, which will split the video in two portions.
-
5
Now drag the time marker to the position where you want to end your clip. Once again, click the “Cut” or “Split” button, and you will now see three clips on your timeline.
-
6
Press control key and click the two video clips that you want to be removed from the timeline. Press “Delete” button on your keyboard. Now drag your desired video clip to the starting position of the timeline.
-
7
Go to “File” menu and click “Save As”, to save the clip on your hard drive.


