How to Make a Paper Butterfly
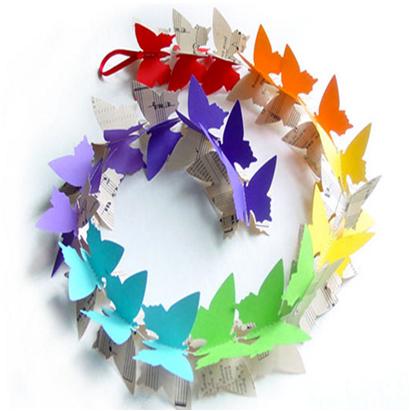
Making a Paper Butterfly is among one of the most versatile craft projects that can be made by the people of any age group and skills, using few easily available items. Your imagination and creativity can transform a simple piece of paper into lovable butterflies. It is also a unique way to recycle paper as you can use newspaper, magazine pages, tissue papers or even gift bags to make colorful butterflies. These props can be made for various occasions of celebration, interior decor or to hang outdoor from your patio for cost-effective outdoor decor.
Things Required:
– Piece of paper
– Sharp scissors
– Paper clip or a thin wire


Instructions
-
1
Take a piece of paper and use sharp scissors to cut it into a perfect square.

-
2

-
3
Use a scissor to carefully cut along the open edges of the folded paper to get the shape shown in the image.

-
4
Gently open up the paper and fold it into a concertina until you get the desired shape.

-
5
Grab a piece of paper clip or a thin wire and wrap it around the center of the folded piece of paper.

-
6
Open up the folds with great care and enjoy the beautiful paper butterfly.

-
7
Repeat the above steps to make bundle of colorful paper butterflies and string them together in order to make a Gerald or simply hang them on the wall.


