How to Mill Your Own Lumber

Lumber is one of the more used raw materials around us. It is used in tons of products and making a list will take a very long time. It is generally milled on a commercial basis and is done with the use of professional machinery.
You can, however, do it with relatively lighter tools if you like to do things yourself. It is hard work but an entirely doable job. There are some simple principles to follow and if you can do that, there is no reason why you are not able to get the job done.
Instructions
-
1
Cut Branches
This is the first step in milling the lumber. Get rid of the branches with the help of a chainsaw or even a handsaw if you like. Try to cut as close to the trunk as possible so that the maximum part of the branches is severed. -
2
Cut into Logs
The next thing to do is to remove the roots and the top of the tree. Put them on a side for now. Cut the tree into logs that are eight feet in length. It is an ideal length if you are someone new to milling lumber. -
3
Split the Logs
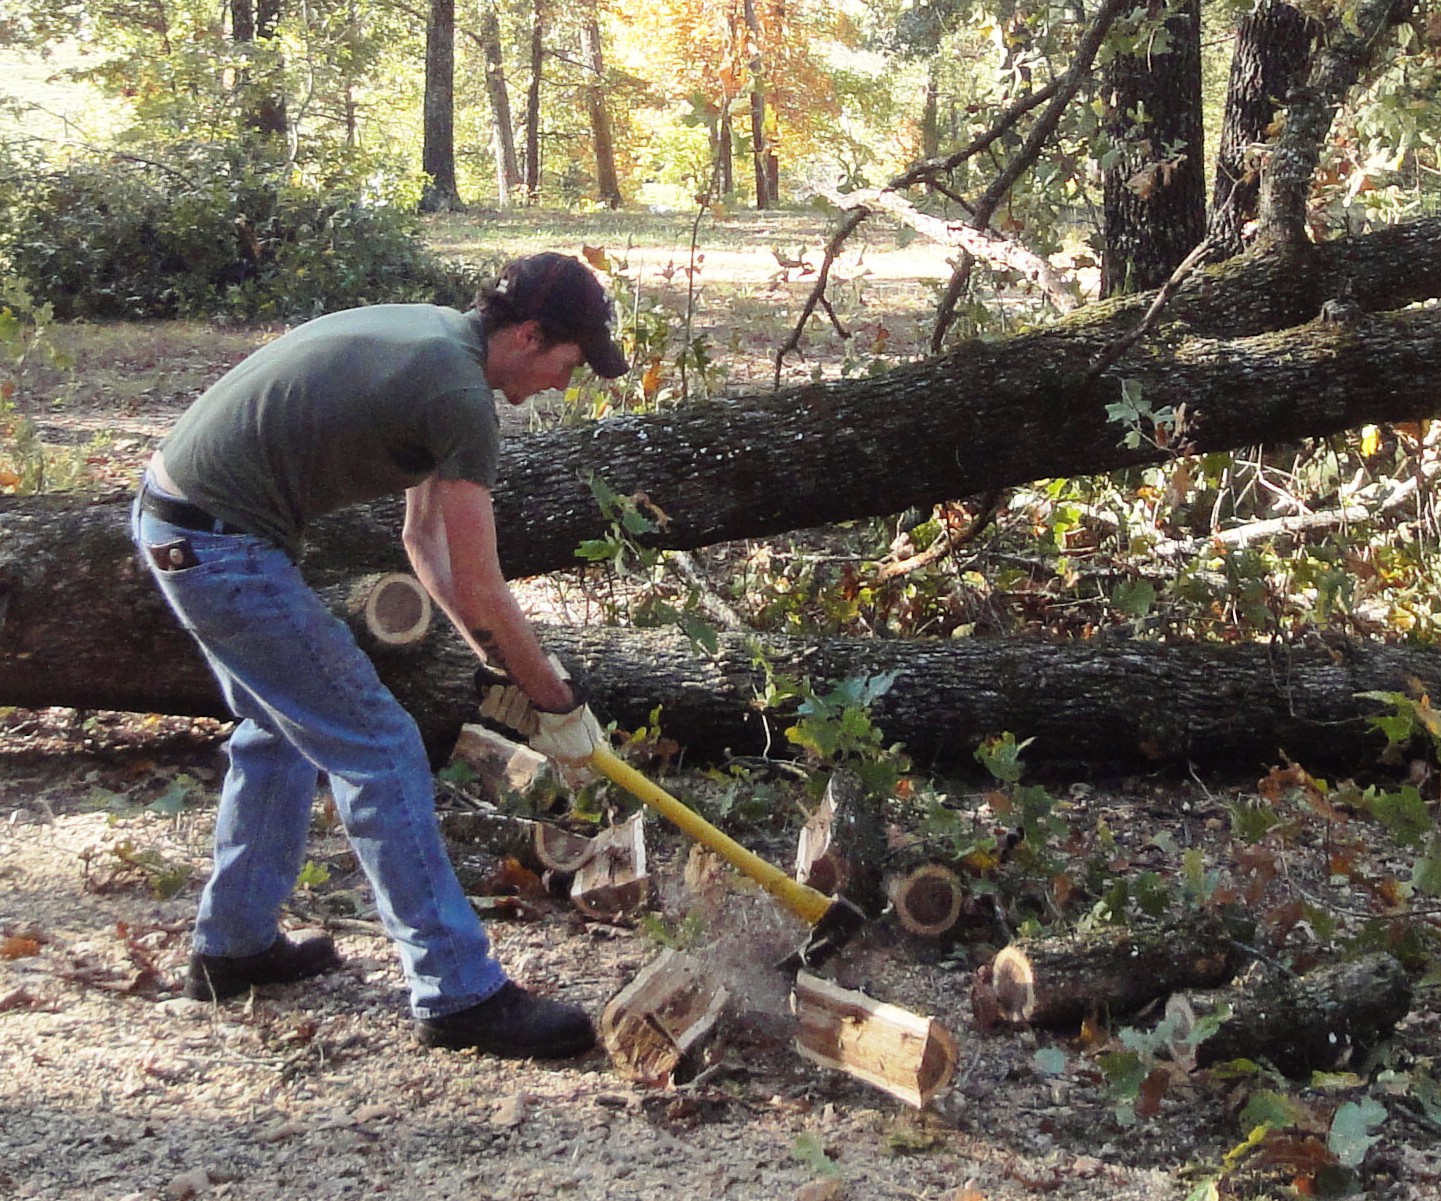
Split the logs into two with the help of a sledgehammer. Hit the wedge at the end of the log and continue to do so until you split the log into two. This process will take some time and also a lot of energy so be prepared for both. -
4
Thickness
Decide the thickness of the lumber you want and cut accordingly. If you want a two inch sheet, you can put the wedge at a distance of two inches from the split and pound on the sledgehammer. Continue the process until you have a sheet of the desired thickness. -
5
Storage
Now that you have you lumber ready, put a wax sealant at the edges to make sure that they do not split. Stack them with a piece of wood couple of inches high in between them to make sure that the air can flow between them and they can dry up. Do cover them, particularly at night if they are in the open with a loose tarp as it can protect them from rain. -
6
Cleaning
You can remove the bark of each board with the help of a saw. This will give it a clean finish.


