How to Reweave Wicker Furniture

Wicker Furniture is expensive to buy, expensive to repair and expensive to replace. Sometimes, it breaks or falls apart. In such case, it becomes almost impossible to repair it without incurring less cost. However, most of the times, you will not need to repair the wicker furniture. In fact, you will only need to reweave it. In such case, you only need the basic know-how and some tools, which are usually available at home. The only thing that you need to buy from the market is wicker, as you will have to make and replace the installed affected wickers in the furniture.
Things Required:
– Hammer
– Tacks
– Scissors
– Wicker
Instructions
-
1
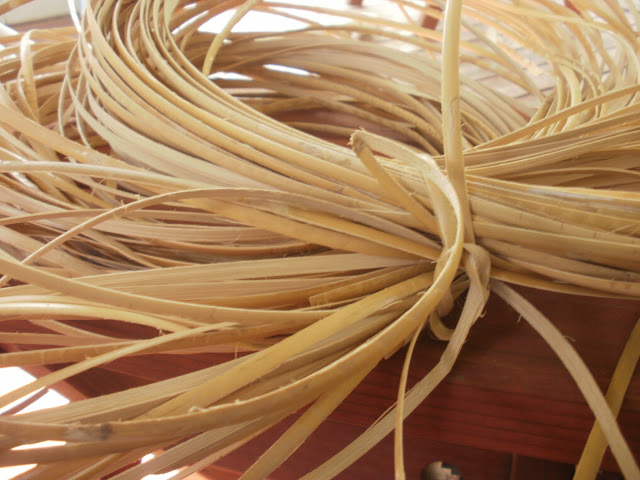
You need to buy the same wicker, from which your furniture is made up of. It is essential to have the same type of wicker used for the weaving process, so that it appears to be the part of the furniture. Otherwise, it will clearly stand out among the other part of the furniture. Visit a nearby arts and crafts store and you will find a wide range of wickers available. If possible, try to bring different types of matching wickers home, in order to compare them with your furniture. Whenever you buy a wicker from the market, always try to buy it at least 5 inch extra, compared to the required length. This will allow you to tuck well, which will prevent unravelling.
Image courtesy: tsue-thatswhatshesaid.com
-
2
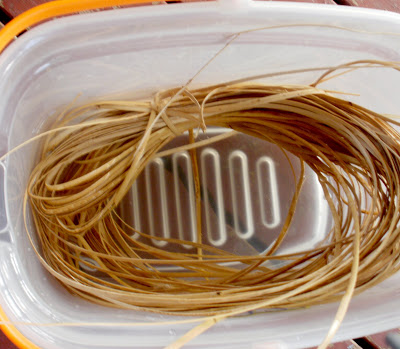
Soak the newly purchased wicker for around ½ an hour, so that the wicker becomes flexible and can easily be weaved. You can add one or two drops of mild detergent in the water, in order to avoid bacteria formation.
Image courtesy: tsue-thatswhatshesaid.com
-
3
Now you will have to tack the new pieces of wicker with the old ones. Make sure you tack them as close as possible. You can also use glue to tuck the wicker in. In such case, make sure that the glue is dry, before you start working on the wicker. Also, you should try to make sure that the end of the wicker is completely inserted in the base, so that it does not come out in future.
-
4
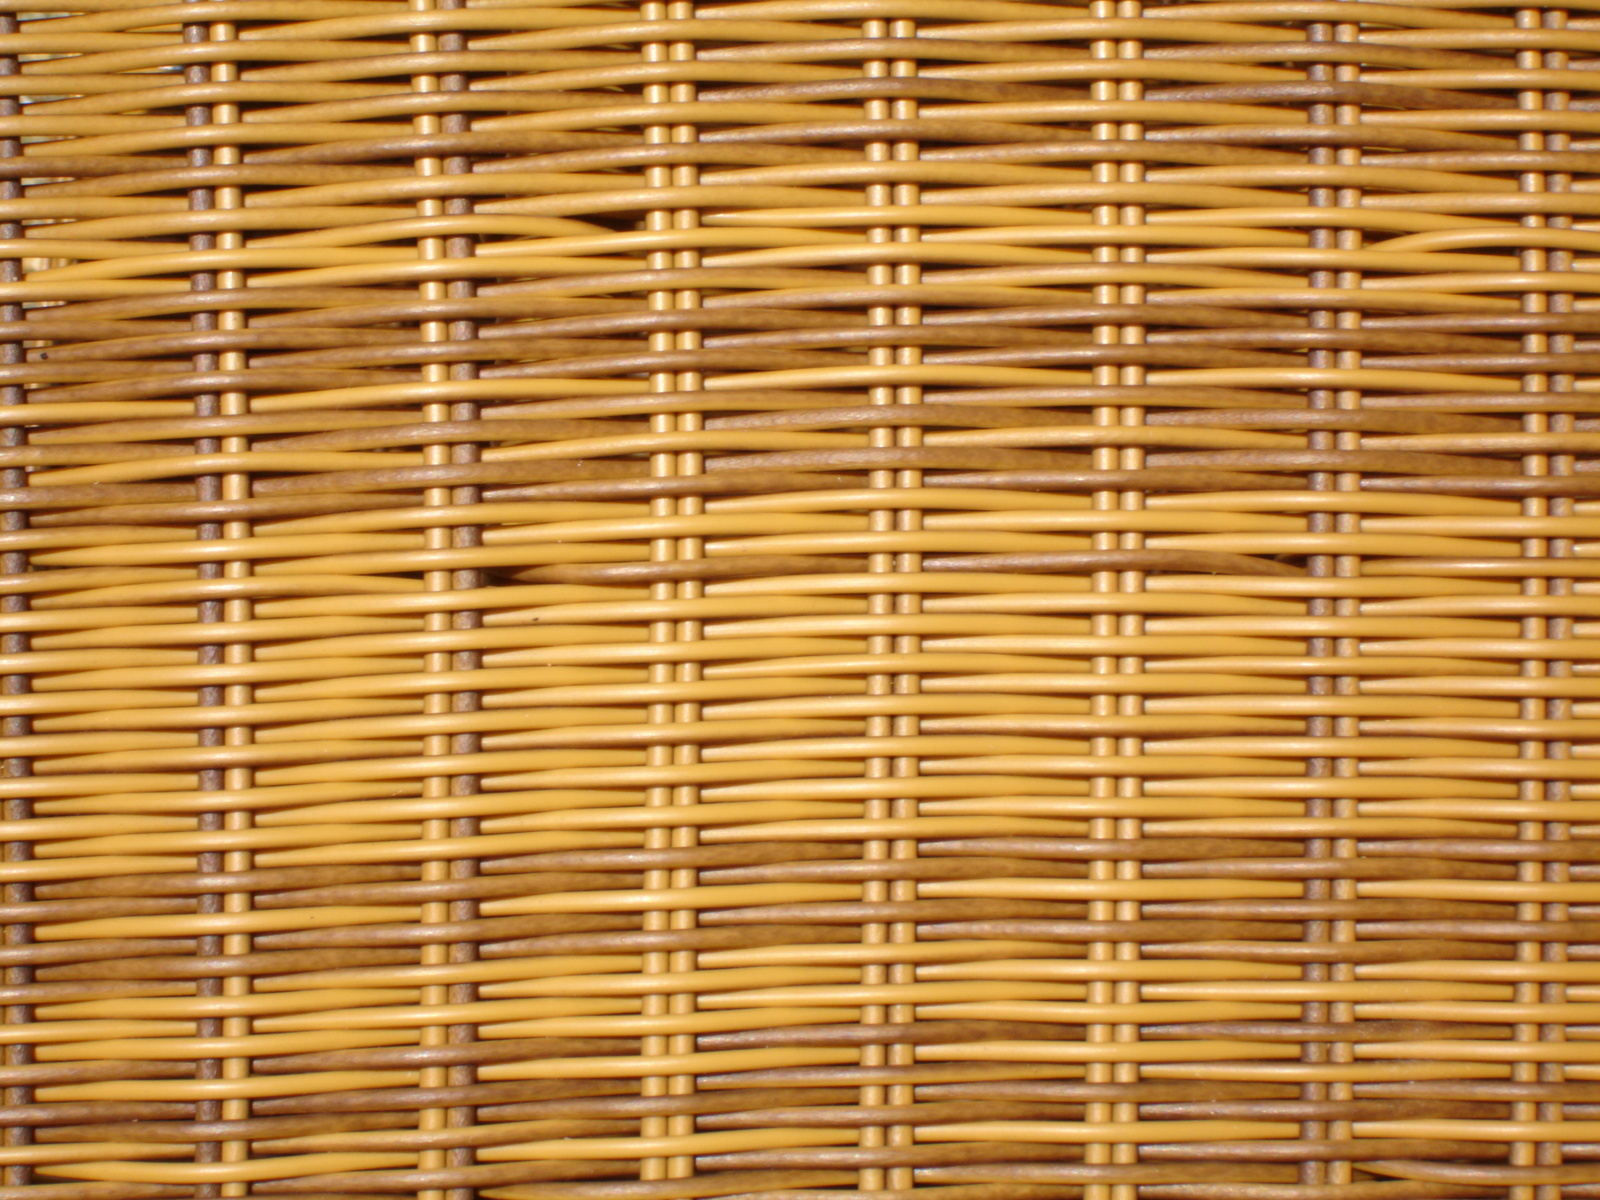
Now start weaving it in and out of the open area. Keep on weaving until the gap is completely filled. Also, try your best to weave like it was done in the original. After you are done with weaving, tuck the other end of the wicker using glue or just wrap it.
Image courtesy: olegvolk.net


