How to Add Oak Wall Paneling
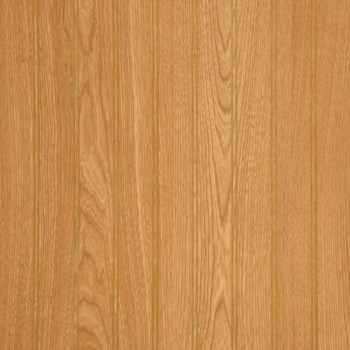
Oak wall panelling looks really impressive in house. It doesn’t only make your walls look beautiful, but also protect them from potential damage. You can easily add oak wall panelling on the walls in your house. All you need is a little time and few materials. If you are looking forward to add oak panelling to your walls, you can follow the given steps.
Things Required:
– Construction adhesive
– Pneumatic air gun
– Tape measure
– Finish nails
– 1 cap moulding
– Wood stain
– 2 1×6 solid oak lumber
– 8 cove moulding
– 5 1×4 solid oak lumber
– Mitre saw
– 1/4″ oak plywood panels
– Orbital sander


Instructions
-
1
Attach the Oak Plywood to the Wall
First of all, you have to attach the oak plywood to the wall on which you want to panel it. In order to install the plywood, you have to apply the construction adhesive on the backside of the panelling in a zigzag manner. Then, join it to the wall (the wall should be dry) and keep holding the ply until the time when it is fully attached with the wall. -
2
Assess the Wall Design
After attaching the oak plywood to your wall, you have to assess its design. Take all the necessary measures of the components and place them on the right side and in the right way. For instance, you have to cut the lumber and moulding to length with the help of mitre saw. It is very important to note that the cove moulding will frame the inside corners of the bottom and top of your panelled wall. -
3
Put in the Chair Rail, Decorative Cap and Baseboard
Now, you have to install the chair rail and decorative cap by using the construction adhesive and nails. After that, you have to install the baseboard by the help of construction adhesive. Now, fix it firmly by the help of nails. -
4
Set up the Crown Moulding and Side Pieces
After installing the baseboard, you have to set up the crown moulding and side pieces. Use the given measurements and place the vertical pieces at the corners of the walls. Finish the interior framing of each square with the help of cove moulding. -
5
Sand and Stain
You can stain and finish your work according to your requirement after assembling the wall and sanding the surfaces with sander.