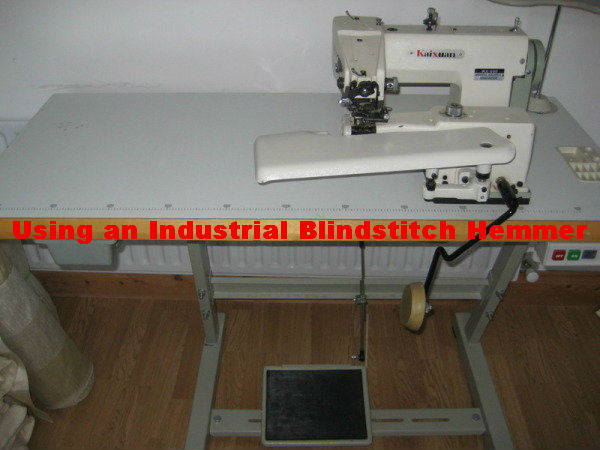
How to Use an Industrial Blindstitch Hemmer
If you are familiar with the art of sewing clothes or tailoring, you should also know that it is important for a tailor or the one sewing clothes to ensure that the stitches made are not visible. This art of making stitches look invisible is called blind stitching which is actually a type of stitching in zigzag position with the help of a hemmer. This type of stitching is usually conducted in the garments industries or professional tailors. Nevertheless, if you wish to have such stitches made by yourself it will just require a few basic things for you to know in order to have immaculate hem finishing.


Instructions
-
1
First of all, thread the machine by turning the hand wheel clockwise till the needle carrier is in contact with its extreme left-hand position.
-
2
Pull thread from the reel, passing it via the nearest thread guide and placing between tension disks and draw though thread guides at the top of the arm.
-
3
Starting through the needle clamp hole and then the eye of the needle, pass the thread pulling atleast 2 inches of it through the eye of the needle.
-
4
Keeping number of stitches per inch, adjust the length. Besides, turn the regulator clockwise for less needle penetration and counterclockwise for deeper.
-
5
By setting skip stitch adjustment in a way that it skips every other stitch and reduces wrinkling on lightweight fabrics, move the lever to 2:1 position.
-
6
In case of light weight fabric, fold the edge of the edge of the hem ¼ inch deep and no more than 3/8 inch deep for the heavier ones.
-
7
As per your requirement, fold the hem along the hem such that it is atleast 1 ½ inches for bottom of pants or a dress and 3 to 5 inches evenly for both layers of folded or double-folded hem.
-
8
Upon pressing the knee lifter, the feed plate will swing downward that will make a gap between the presser foot and the feed plate where you will insert the fabric so as to level the folded edge together with presser’s foot edge guide. Release the knee lifter once the fabric is in the right position.
-
9
Start sewing by switching on the machine and slowly pressing the foot control. Use your left hand behind the needle to grip fabric and your right hand in front of the needle, keeping a distance of 10 to 15 inches between your hands.
-
10
Stop after sewing a certain portion and start again by gripping the next portion and continue in the same way till it finishes.
-
11
Upon releasing the foot control, turn the hand wheel clockwise till the needle is fully out of fabric and press the knee lifter again to immediately pull the fabric backward off the machine. In this way the last made stitch will be locked and the thread will break. Once you see this simply turn the machine off.


