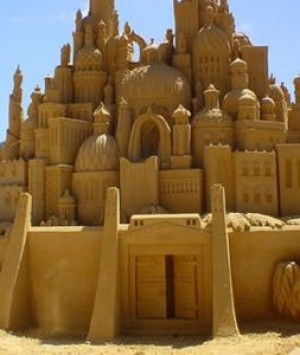
How to Build a Futuristic Sand Castle
Building sand castles is a great beach activity for kids and adults alike, allowing us to use our imagination and create a fine piece of work with our own hands. While castles represent old times, you can bring a new change to this by designing a futuristic castle, which can be a vivid blend of the past and the distant future. Test your construction skills by making a castle which will get people talking.


Instructions
-
1
The first thing is to decide which futuristic elements you want to have in your sand castle. For instance, you can plan to include a landing pad for spaceships in the castle.
-
2
Before beginning, it is advised that you sketch a rough layout of your castle which will help you determine the height and the approximate size of your castle.
-
3
While you can easily grab hold of a professional sand sculpture kit, easily available in the market, you can also use household items such as plastic cups which can help you shape your futuristic castle.
-
4
You will require shovels, paint brushes, straight-edge screwdrivers, cake decorating kits and cheese slicers in order to make a great looking sand castle which will have all the stuff humans might be using in the distant future.
-
5
After designing the basic structure of your castle, you need to add the accessories which will make your castle look futuristic. Stretch your wild imagination here and make use of the items that you can easily find in your house lying around. You can use ice cream scoops, funnels, candy moulds, measuring spoons and buckets.
-
6
In order to make a solid castle you first need to construct the foundation for which you should make a pile of sand according to the size of your choice and then with your feet just stomp the sand down in a bid to remove pockets of air. You have to keep doing this until there isn’t any dry sand and the foundation is firm. In this process you also need to apply a little water but do this very slowly in order to avoid over-wetting.
-
7
You should remember to build up your castle layer after layer. After adding the layers, it is time to carve your castle with the tools you have selected.
-
8
Now adding some final touches, you can place your "Star Wars" action figures, along with the toy spaceships on the landing pad.


