How to Connect a Laser Printer to a Network
Nowadays it is difficult to imagine a modern office without a printer and when there are several computers in an office, it makes sense to save money on buying printers for every system. A printer can be connected to office network just like computers are connected to a home network to share internet access.
Printers help in the working process and facilitate documentation without undue effort. If your office has one printer, you can connect it to the local network and give access to every system.


Instructions
-
1
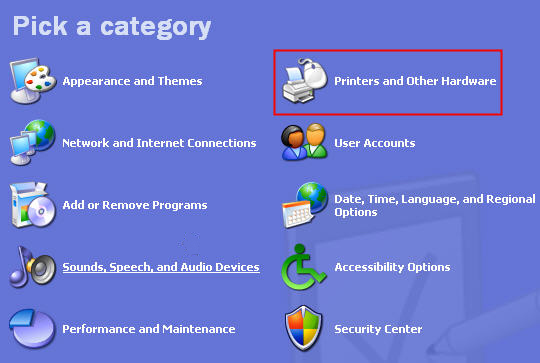
First of all you will need to connect the printer with one computer. Press the "Start" button at the bottom left of the screen of the computer, and then find "Printers and Faxes”. You can find the option by either going into "Settings" or by locating it in the "Control Panel". Now press the left button of the mouse two times (double-click) to open the menu.
-
2
In the window that will open, you will see the name of the printer (Canon, Epson, HP, Samsung etc.). Right-click on the icon of the installed printer and then select the "Sharing" option.
-
3
A new window will open in which you will find the inscription "Share this printer", click the radio button to the left of the inscription. You will find the name of the printer on the network in a drop down list. Next, click "OK" at the bottom of the window to make that printer work in a network.
-
4
Now start the second computer on which you want to access the laser printer. Go to the "Printers and Faxes" option by following the aforementioned instructions in step one. Right-click on an empty space in the "Printers and Faxes" folder and a menu will appear. Click the inscription "Add a printer". This will open the Add Printer Wizard.
-
5
Click "Next", select "Network printer" and again click "Next".
-
6
Select "Browse for a printer" and press "Next".
-
7
At the bottom of the window, click on the line with the name of the printer (which has been selected dealing with the first computer) and then click "Next".
-
8
A window will appear asking for "Default Printer" - click "Yes" and "Next" at the bottom of the screen.
-
9
The next screen will display the "Completing the Add Printer Wizard" and "Finish" button at the bottom of the window. Click the "Finish" button, wait for the operating system to install the necessary drivers and software. After that you will be able to access the printer on the network.


