How to Create Motion Blur in a Photograph
If you want to give an artistic touch to your images, nothing can be better than to add motion blur effect to them. Many times it happens that when you take a picture of a moving object with high shutter speed, you end in freezing all the motions in the scene. In such case, you can use Adobe Photoshop’s blur tool to add motion to your pictures.
You do not need to blur your entire image to give it a motion effect. In fact, you just have to blur some parts of the image, which will automatically give a feeling that the picture was taken with the motion.


Instructions
-
1
Run the Adobe Photoshop program and open the “File” menu. Choose “Open” and select the image to which you want to add the blur motion effect.
-
2
Create the background layer for your image. For that purpose, click on the image and drag it to the "New Layer" icon present in the layer tool box.
-
3
Now you can add motion effect to your picture, by clicking the “Motion” option in the “Blur” section. You can find the “Blur” section in the filters menu. This will completely blur the image. You can then add a layer mask over your image by selecting “Add Layer” from the layer tool box.
-
4
Choose the brush tool and set the unit to around 75. Also, select the black colour from the colour palette, appearing at the bottom on the tool box. The colour palette will only have black and white colours. You need to click on the black box.
-
5
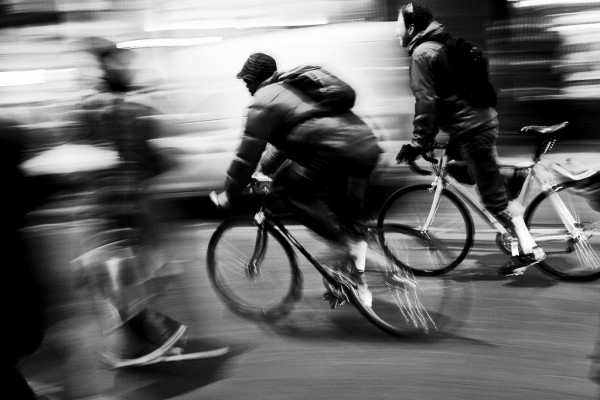
Now you un-blur some portions of your image by clicking and holding the left mouse button and moving the brush tool over your desired areas. For instance, if you are editing a picture with your friend riding on a bicycle, then you may need to un-blur his face and some body parts.
-
6
Once you are done with creating motion blur effect, you can save a copy of your image. For that purpose, go to “File” menu and select “Save As”. Enter the name of the file in the “Name” field and select the output file type from the file type drop-down menu. Click “Save” to finish saving the image on your hard drive.


