How to Fold Paper Roses
Rose is considered to be the symbol of Love. On every Valentine Day, thousands of lovers give flowers especially roses to their partners. If you want to make your rose gift a little different, you should probably prepare a paper rose.
It is a great way of presenting the love in an entirely different way. Nothing could be better than a paper rose, if you are interested in giving a handcrafted gift. The process of folding a paper rose is not difficult at all. If you succeed in folding a paper rose in the right way, the recipient will surely love it.
Instructions
-
1
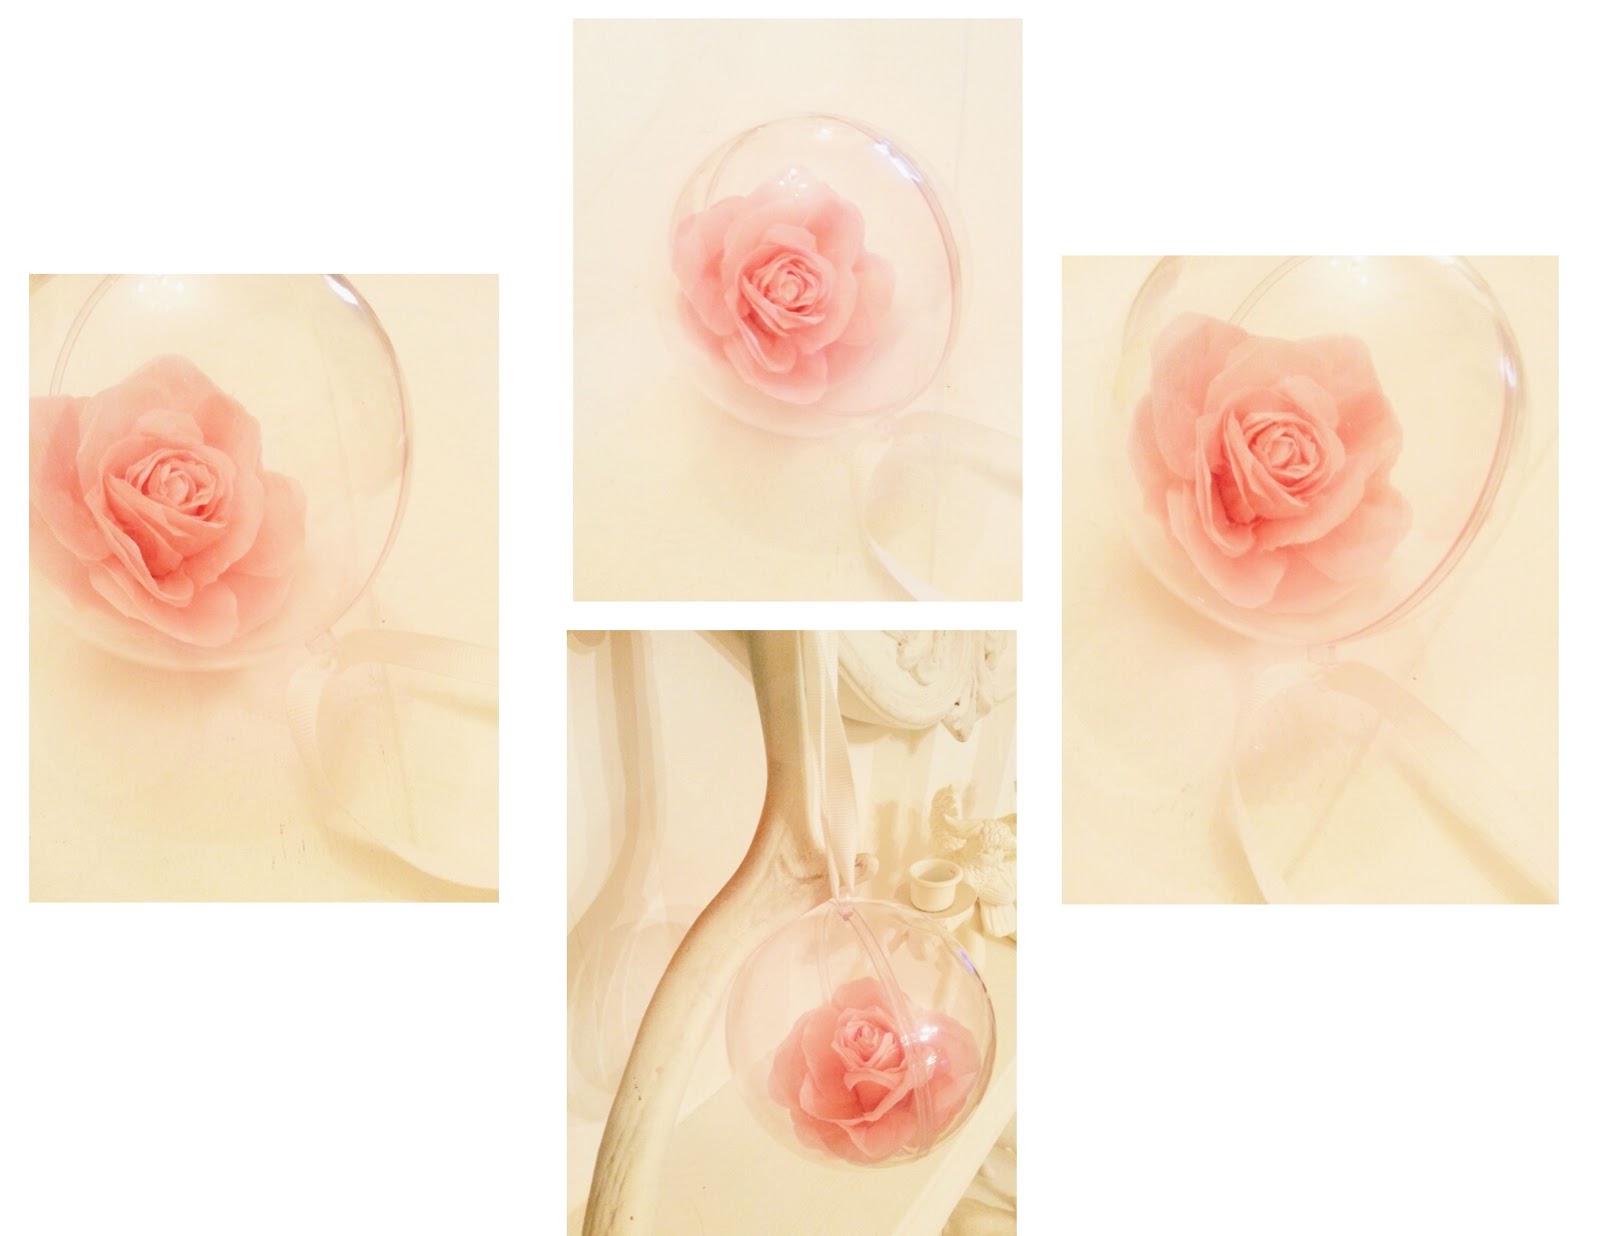
First of all, get a colourful square paper. The paper should not be too red. Pink is an ideal colour for a paper rose.
-
2
Place the paper of an even surface, making sure that the colourful side is towards you.
-
3
Fold the paper right from the middle, so the colourful side is inside the fold. Straighten the paper again, keeping a close eye on the crease.
-
4
Take a black pencil and roller, and turn the page over. Draw a line in the middle right on the crease.
-
5
Fold the paper in four sections. It can be done easily by fold the two halves in half anther time. To make the fold line visible, draw a thick line right on all four creases.
-
6
Repeat the last two steps and divide the paper into 16 equal squares. It means that after folding the paper in four sections horizontally, do the same vertically.
-
7
It is the time to fold the paper diagonally. Draw a couple of lines with red pencil, connecting top right corner touches to the bottom left. This will make four large triangles right over the squares.
-
8
After finishing with red and black lines, fold the paper in half just like you did in the third step.
-
9
Here comes the tricky part. You are supposed to fold the lower half upward one third of the way. Now the paper will start looking like an envelope.
-
10
Bring the paper back to normal and rotate it to 90 degrees. Now repeat the last two steps, and highlight the new creases with a green pencil.
-
11
Grasp the corners, and fold the black and red lines upward. After that, do the same with the green lines, using mountain folds.
-
12
Press down the creases to make four different layers. Label each quarter after turning the paper over, bringing the colourful side towards you.
-
13
Twist the four sections anticlockwise to create a cup-like shape. Flip the cup, so you can look inside the rose.
-
14
The final step is folding down the petals one by one. Rose is ready. Present it to your special one.
