How to Install a Walk-In Bathtub and Shower
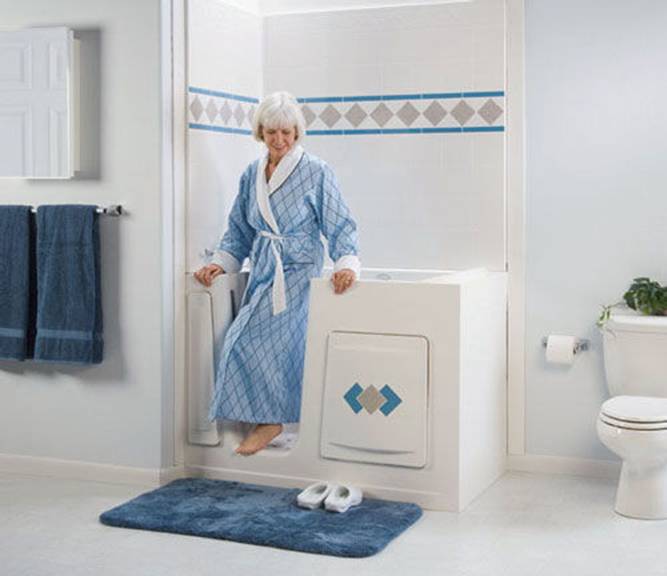
As people get older, it becomes far more difficult for them to move around the house easily. In fact, one of the hardest things for them to do, is to go take a bath in a bathtub. This is because they can’t get into the tub with ease and end up falling down or hurting themselves. As a result, an alternative is to install a walk-in bathtub and shower. You could ask someone else to install it for you, but you could save a lot of money by doing it yourself.
Things required:
– Walk in bathtub
– Caulking material
– Basic tool kit
– Tub liner material
– Measuring Tape
– Pry Bar
– Putty Knife
– Tiles
– Pipes / Fittings
Instructions
-
1
The first thing to do is to determine all the items that you need to work with. You are going to have to figure out the step height and the tub width before you go out and buy one. Make sure you take the right measurements using the tape, so that you don’t have to go and trade items later on.
-
2
Choose the area where you want to install the walk-in tub and shower. Make sure that you keep safety as your top priority when you are selecting the location. Since you are installing it for an elderly person, or someone who is disabled, you are going to have to think of the location from their point of view. Ideally, there shouldn’t be any turns and it should be a straight entrance into the bathtub.
-
3
If you can’t add a new bathtub to the bathroom, then you will have to get rid of the old one to create a place for the new one. Before you remove the old tub, you are going to have to turn off the water. This can be done with some basic tools and will make it a lot easier to install a new walk-in tub.
-
4
Start off by removing the tub liner, shower wall and the tiles. You need to take apart as much as you can to create space using a pry bar. Now disconnect all the water pipes. You will have to clean off all the old caulking with the help of a putty knife. Pull the old tub or shower away from the wall and dispose of it.
-
5
Now set the new tub in place and install all the pipes and fittings in their designated place. Check for any leaks that you might have, before you start to fix the wall and the tiles. Once you have the leaks checked, go ahead and match the original plan for all the tiles and all the other materials. You might have to get a new custom tub liner, so make sure you order it in time. If you can’t find one, make your own liner by cutting one out and then applying trim in all the areas where you feel it should be applied.
-
6
All the areas which can cause leaks should be caulked. You will also have to add trim to the areas where the tub connects with the wall and the floor.
