How to Make a Mandala about Yourself
A Mandala about yourself is basically a well-proportioned design that uses shape and colour to express your inner sense of self. This uniquely designed tool is also believed and used by many famous and modern psychologists all over the world to look at the internal feelings and thoughts of their clients. Your personal Mandala can “abstract,” “geometrical” or rarely “circular.” It is an exclusive representation of layers of yourself from the innermost (deepest) self outward to the face you show the world (your social circle). It also represents all the protective layers in between.
Making your own Mandala is an amazingly simple activity as it requires an easy procedure that you can carry out within a few minutes, using a few common tools. You can present it as a matchless gift to your loved ones.
Things Required:
– Square sheet of paper
– Coloured pencils or markers
– Compass
Instructions
-
1
Fold the Paper
First of all, fold the selected square sheet of paper in half one way then open it gently. Now fold it in half the other way. After that, fold up the corner of the paper into its center (middle). You can clearly notice that this folded paper gives you eight sections (also referred as eight-fold path), which most Mandalas are based on. -
2
Draw the Circles
Bring the compass into action and use it to sketch circles, overlapping (extending beyond) them according to requirement. If you are not clear about drawing the circles, follow the given below instructions:
Start drawing the first circle in the middle with a radius that pull out about a third of the overall length of the paper. This area will serve as your "essence."
Now draw four more circles with their epicentres halfway (central) between the midpoint of the paper and the border along the upright (vertical) and parallel (horizontal) axes. You will find it extending from the middle to the corner (edge) of the paper. -
3
Sketch a square
It is the time to draw the main square that will represent a wall of your Mandala. Using the previously sketched four points of your outer circles intersect, draw a square and then sketch “gates” on its both sides. These gates will be used to allow your images, essence or patterns right from the center of your Mandala to spill out into an open space. -
4
Draw more Circles
Now place the compass’ point right into the center of the paper and draw three more circles close to the edge (border) of your Mandala. Make sure that these circles are bigger ones than the previously drawn circles. These three big circles will serve as a border for your Mandala. -
5
Color your Mandala
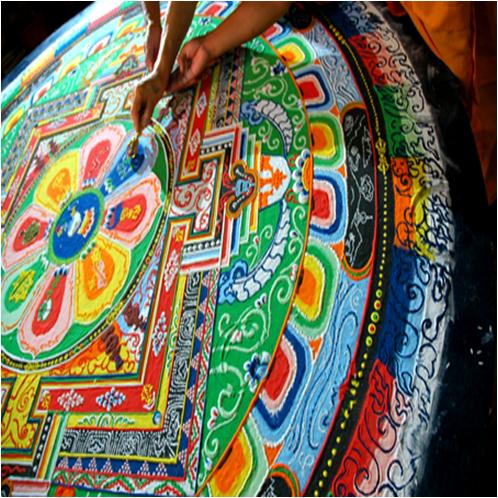
At this point, fill the shapes (circles & square) of your Mandala with your favourite colours. Your Mandala is almost all set to go at this point; it is all about you, so you shouldn't feel restricted by what you do or don't put in it. Be creative and fill it with various colours or shapes.
 self outward to the face you show the world (your social circle). It also represents all the protective layers in between.
Making your own Mandala is an amazingly simple activity as it requires an easy procedure that you can carry out within a few minutes, using a few common tools. You can present it as a matchless gift to your loved ones.
Things Required:
- Square sheet of paper
- Coloured pencils or markers
- CompassNext%20stop%3A%20Pinterest "Pin It")