How to Put Christmas Lights on Your Car
Christmas celebrations are undoubtedly incomplete without lights. When homes and trees are lightened up, why should cars be left behind? If you are done with lighting your home and want to set the streets ablaze across the city, than put up all those flashy lights on your car and go riding freely, spreading the joys of Christmas. Putting up lights on your car is really easy and you can cram it in the busy Christmas schedule because it does not take much time. Follow these steps to lighten up your car on this Christmas.
Things Required:
– Scissors
– Fabric fastener strips
– Christmas lights
– Extension cord
– Power Inverter


Instructions
-
1
The fabric fastener strips will help you attach the light string to the car body. Cut out small pieces from the fastener, according to the length you want to cover on the car.

-
2
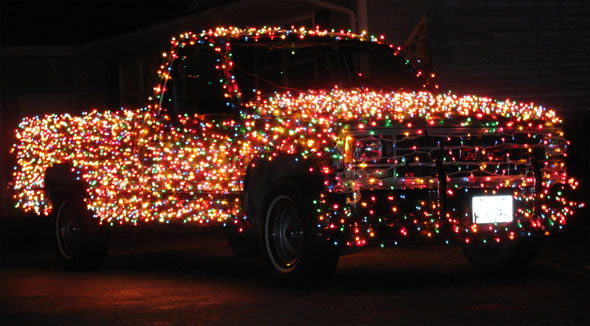
Choose the points on the car where you want to put lights on. This could be the a bumper, trim or anywhere else you want. With a luggage rack, you can easily wrap the lights string around it without need of any adherence. Drape the lights strings around these points and use the fastener strips you cut in step one to hold these in place. Once you are done putting the lights on, bring the plug at the end of the string to the door of your car and insert it inside the car.

-
3
To the plug that you brought inside, attach an extension cord. Attach the extension cord to the inverter. When you make this connection, plug in the extension cord of the inverter into your cigarette-lighter socket.. Turn on the inverter and bling!!!!


