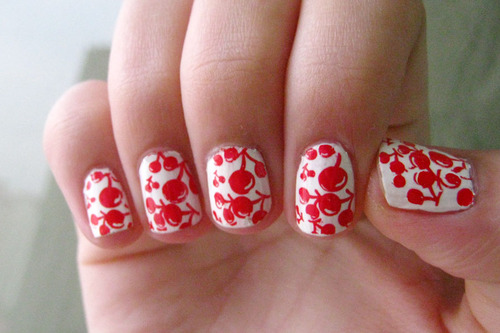
How to Use a Nail Polish Stamp
Stamping nails to add designs or patterns is very popular these days. Rather than going to a salon, you can easily stamp your nails at home.
Things Required:
– Paper towels or old newspaper (to protect the work surface)
– Metal image plate of your choice
– Stamper
– Scraper
– Acetone or a good nail polish remover (to clean the tools)
– Cotton swabs or cotton balls
– Nail filer
– Stamping polish
– Top coat


Instructions
-
1
Clean & Prepare
Gather all the tools you will be needing to stamp your nails and prepare them for use. Apply some acetone on a cotton ball in a clothespin and gently scrub it on the image plate and stamper to remove any lingering polish. -
2
Pick your design
The metal image plate can have many designs engraved on it, select the design you like. -
3
Pick your stamp colour
Nail stampers usually come with bottles of special nail polish. Pick a colour of your preference (white is mostly used to stamp the nails since it shows up on almost every colour). -
4
Paint
Apply a small amount of nail polish to the design you have selected. Do not cover the entire design with the nail paint; instead, apply along one edge only and distribute it evenly using the scraper. This will waste less nail polish. -
5
Scrape
Take the scraper and hold it firmly against the design at a 45 degree angle. Applying even pressure, scrape across the design on which you had applied the paint, in order to remove excess polish. Make sure that you only have a thin layer of nail polish left in the grooves of the image. You can also swipe excess nail polish by pressing a thin sheet of metal on the design and then quickly swiping it across the image. -
6
Prepare the Stamp
Take the stamper (with a circular part of rubber at one end) and press it firmly against the image you have painted (do not press too hard). Check the stamper and make sure that the design has transferred. If you are not satisfied with the design that has transferred, just stamp it off on the paper towel and repeat the procedure, this time being more careful. -
7
Stamp your nail
As soon as you take the nail stamper away from the image plate, stamp it quickly onto the nail. The key is to roll the stamper across the curve of your nail. If some polish gets on your skin, wipe it off using a q-tip moistened with nail polish remover. -
8
Top coat
To give your stamped nails a shiny look, finish off with a layer of topcoat. Wait for a few minutes to allow the stamp to dry completely, and then apply a thick layer of topcoat.

- Metal image plate of your choice
- Stamper
- Scraper
- Acetone or a good nail polish remover (to clean the tools)
- Cotton swabs or cotton balls
- Nail filer
- Stamping polish
- Top coatNext%20stop%3A%20Pinterest "Pin It")


