How to Use Photometry on Digital Cameras
Gone are the days when photographers had to adjust everything on their own. Now digital cameras have made the job easier for them. They can adjust the focus, light or shutter speed by just pushing a button.
Photometry in digital cameras is a technique to check the amount of light on the object. This helps you to determine the exposure and ultimately you can take a quality picture. Though, many digital cameras adjust light automatically but you can do it yourself.
It is not necessary to be a professional photographer as anyone can use photometry by following some simple directions.


Instructions
-
1
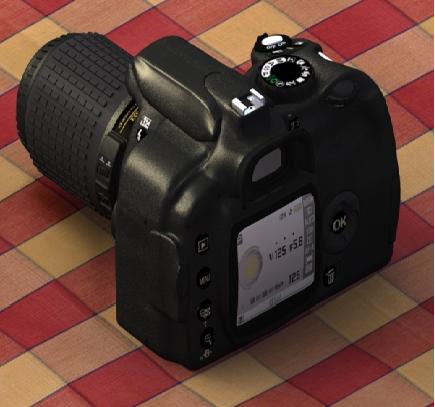
If you are doing it for the first time then you should examine your camera before doing anything. Know its parts and their functions. Most of the cameras have audio/ video tutorials for the beginners so you can equip yourself with the required knowledge through these tutorials.
-
2
Once you have gone through the learning process, turn on your camera and go into “setting”. If “automatic exposure” is the factory setting then select “manual exposure” option. However, you may find yourself in a situation when the makers of this camera have created different methods for this process. In this case, read the manual carefully to gather proper information.
-
3
After changing the setting to manual, focus the object you want to photograph and then adjust the grayscale board. This board helps you to record the accurate reading of light. The grayscale board is placed in the center of colour spectrum to determine the right amount of light. If you don’t have a grayscale board then you must get one otherwise you will keep on taking images that are too flashy or murky.
-
4
Now you should “zoom” your camera lens into the grayscale board so that it gets complete viewfinder of the digital camera. It is very important to do it with perfection otherwise this exercise will be a futile effort. A little bit of practice can make things easy for you so keep doing it until you get a grip over this technique.
-
5
After your grayscale board takes up the viewfinder, adjust your camera to the object you want to capture. Meanwhile, press down the light-reading button and it will show you the accurate light reading. Adjust the aperture of your camera according to that reading and press the capture button when you are done with these light settings.


